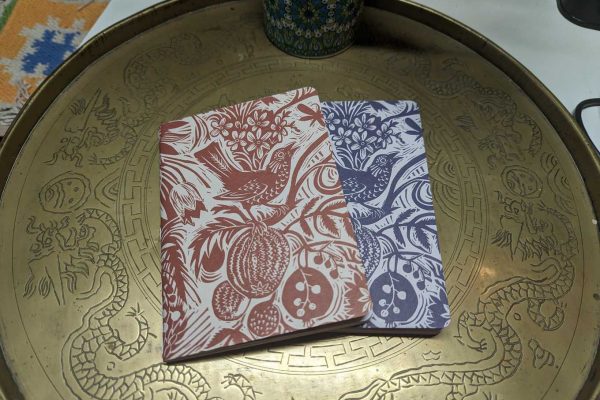
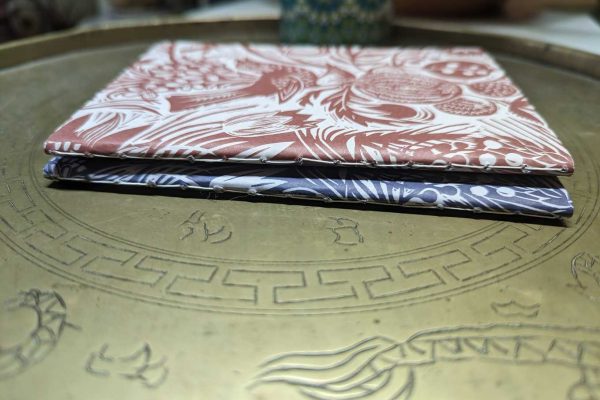
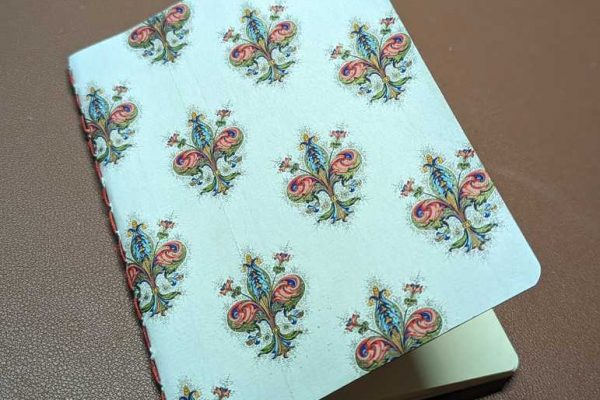
I have recently started with bookbinding again after several years, and to gently ease myself back into it I made a simple softback notebook using the pamphlet stitch.
What is a pamphlet stitch binding?
This type of bookbinding is a softback notebook, where all the sheets of paper are folded within each other. I use a thin card stock as the cover of the notebook, where the spine is then stitched and tied off inside.
As the name “Pamphlet” suggests this is ideal for a lower page count. I generally use 15 sheets of paper for the pages inside the notebook. When they are folded you will have a 60-page notebook (4 sides per sheet when folded in half) plus the cover.
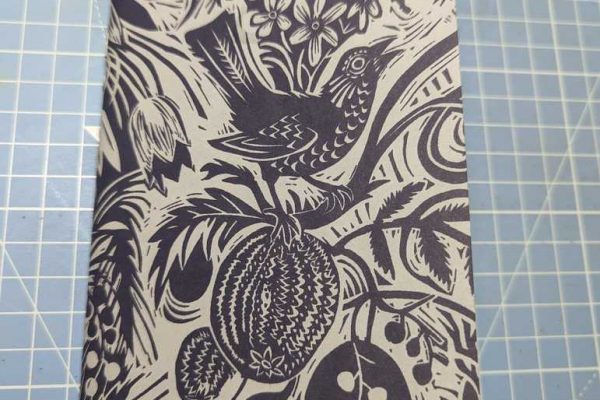
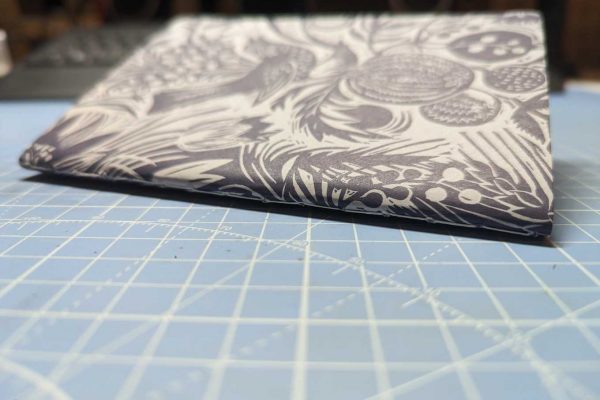
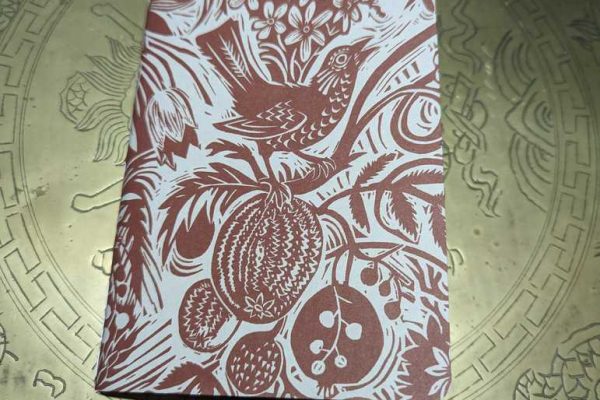
The small gallery below are the first notebooks I created recently. As you can see I’ve used some patterned paper for the cover. I have glued this to the card as it was regular paper.
Making a softback notebook
In the steps below I will make two A6 notebooks, where I’ve cut A4 sheets in half to give me two A5 sheets, and then folding them in half gives me A6 paper size. But you can keep it A5 or if you have A3 paper, you can make an A4 softback notebook. You can find more information about “A” paper sizes (or ISO 216)
The cover
The cover of the softback notebook can simply be plain, or have something printed on it like a heading “Little Notebook of Ideas” (which I’ve used in the past). Even cover the outer part of the cover with patterned paper (which is what I’ll do in these steps).
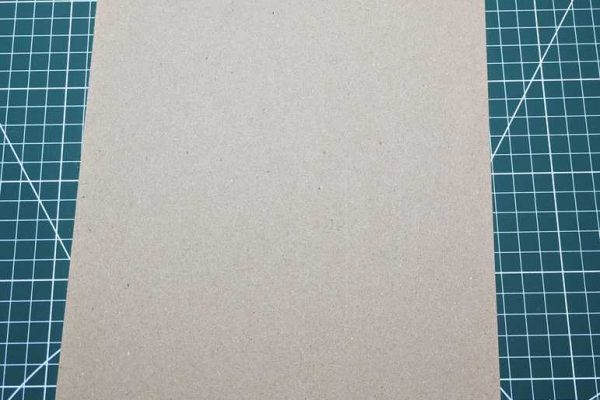
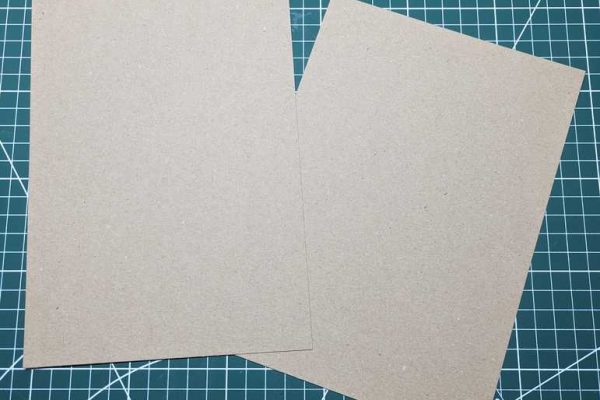
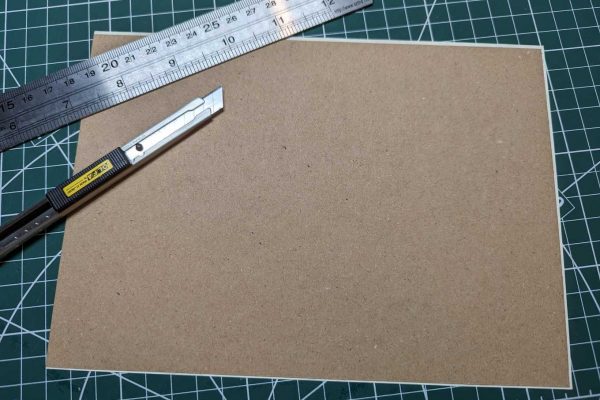
1. Grab the card you wish to use, I’ve used a brown card. Because I’m making two A6 notebooks I’ve cut an A4 card sheet in half.
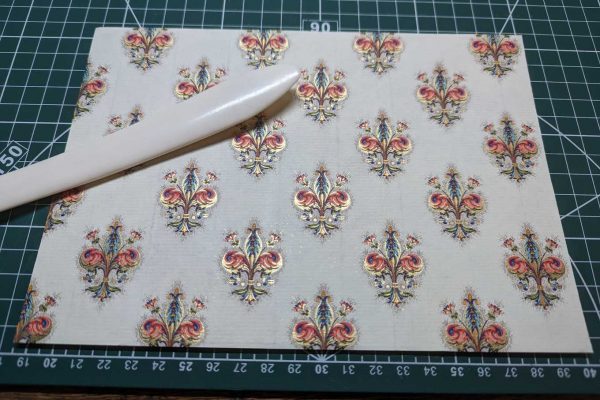
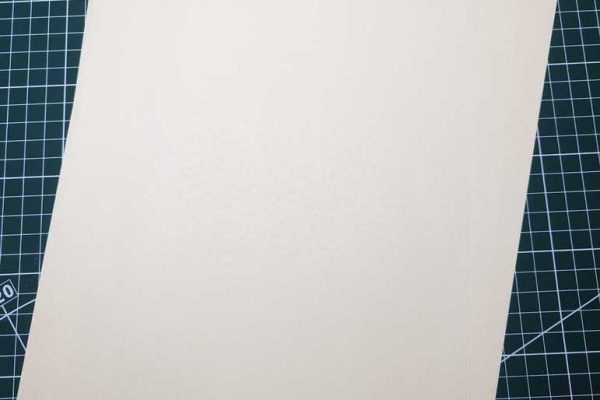
2. I’ve selected a patterned paper I found while out shopping in Oxford from a shop called Scriptum, which is a fancy fleur pattern with gold accents.
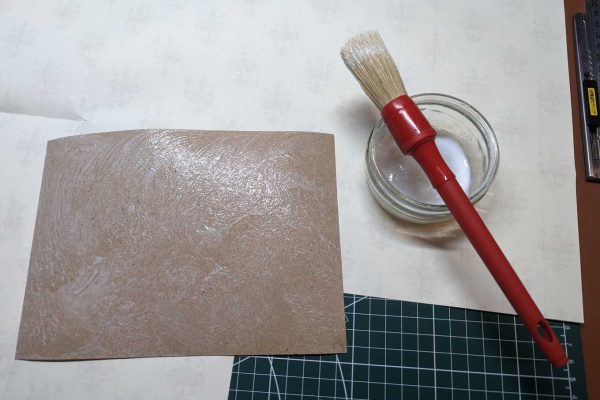
3. Apply glue to your cover, making sure all of it is covered and there isn’t a part without glue.
4. Then make sure the card is stuck down to your paper as flat as possible, using a bone folder or something with a flat edge (squeegee or even your Tesco Clubcard) to flatten and remove any air bubbles.
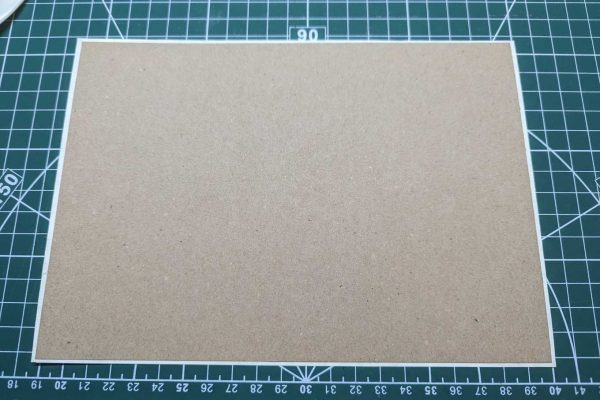
5. If like me you have stuck your cover to a large piece of paper, cut around the card leaving a slight edge to it.
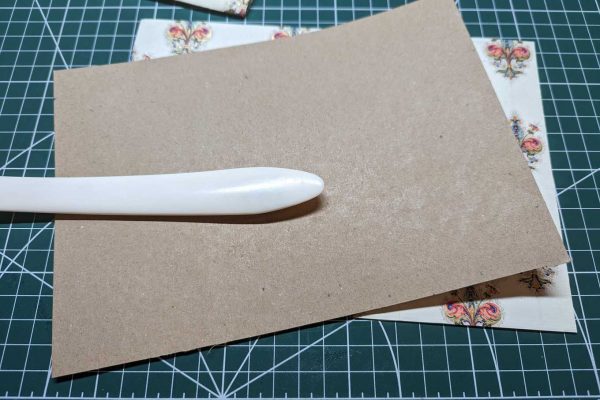
6. Flip the cover over so that the patterned side is face up. Using your bone folder or flat edge repeat the same steps by making sure it’s flat and no air bubbles or ripples are visible. NOTE: Make sure before you do this put some paper or card over the top, because this will stop your paper from stretching and tearing.
7. Once you have finished removing any bubbles and ripples, place the cover under a flat heavy object like a book or press, and leave it to dry.
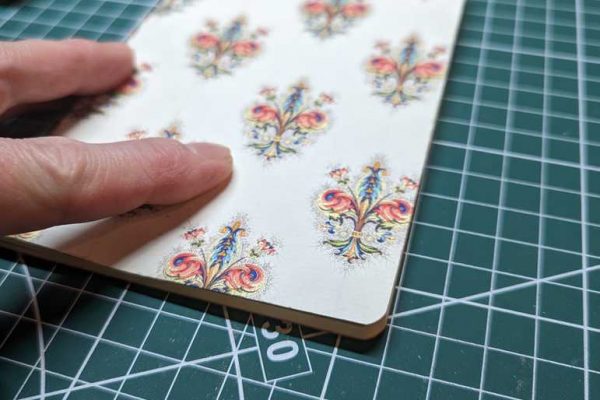
8. Once it’s dried, cut carefully around the card so that there is no additional paper showing. As you can see in the image below the left-hand side has been trimmed away, this needs to be done on all four edges.
9. Fold the cover in half but do not put a sharp crease in this, because the pages need to sit nicely inside of the cover.
Notebook pages
1. Select the 15 sheets of paper of your choice.
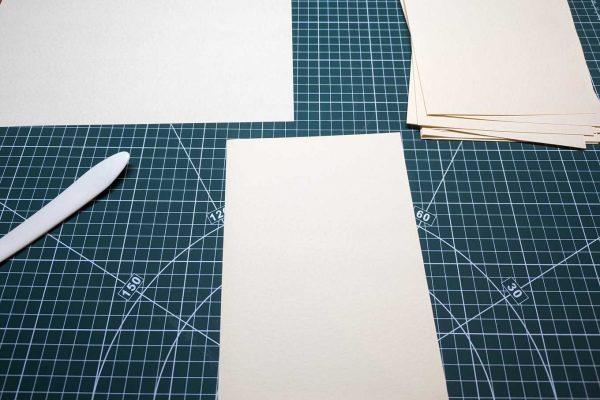
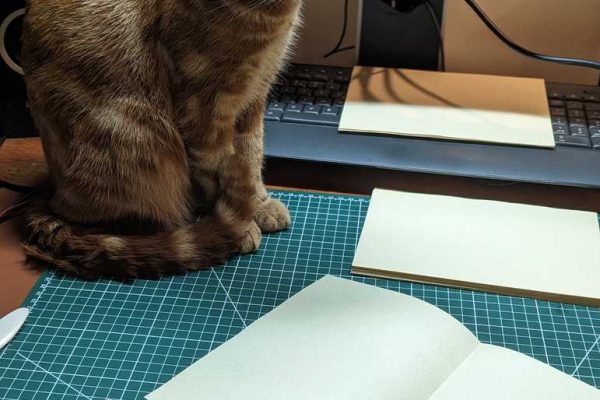
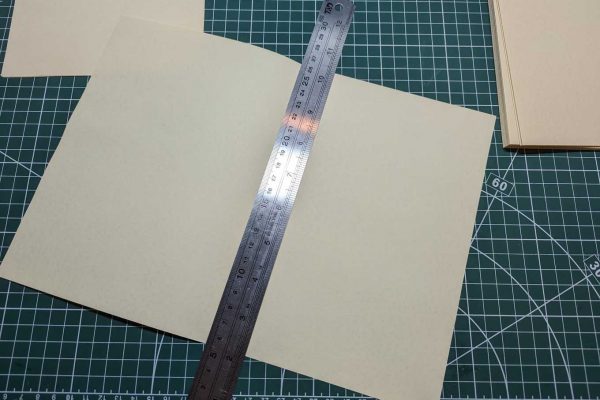
2. Because I’m making two A6 notebooks, I will fold each A4 paper in half and then cut them along that crease line. I was even getting help from Ziggy again…I think more like a foreman and inspecting the work!
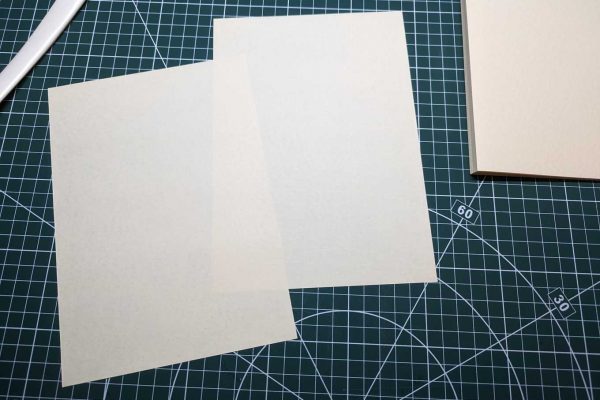
3. I now have 30 sheets of A5 paper, so I’ve split them in half into two piles of 15 sheets.
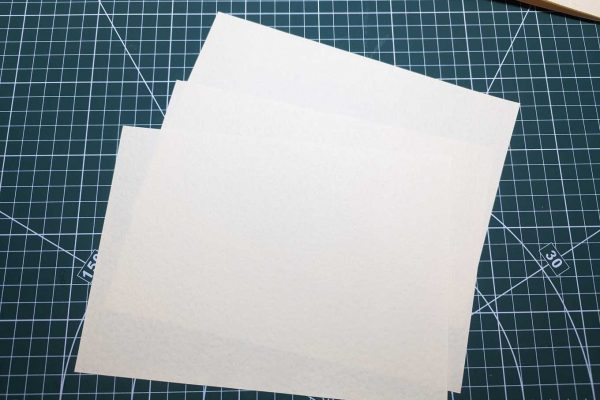
4. When it comes to folding the A5 sheets in half, it’s best to fold them in groups of 3-4 pages at a time. Don’t put a sharp crease in the paper!
5. Leave them in those groups of 3-4 once folded because you will be punching holes in them in the next section.
Punching holes
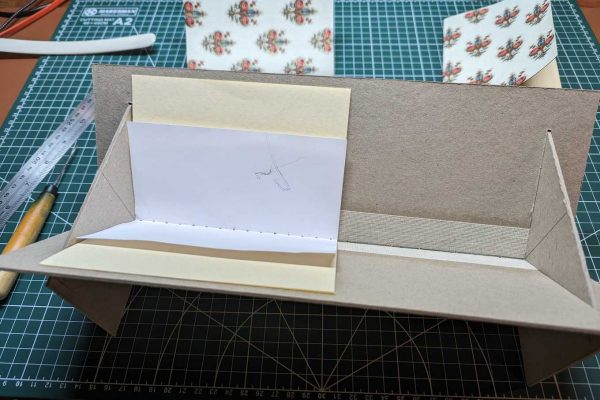
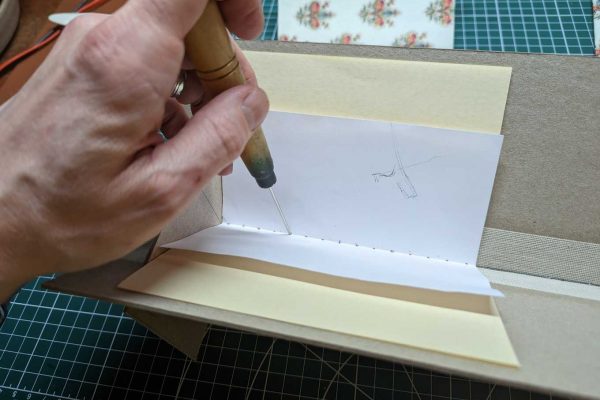
In this section, I will be punching holes in the fold of the paper and cover, which will be used for the stitching.
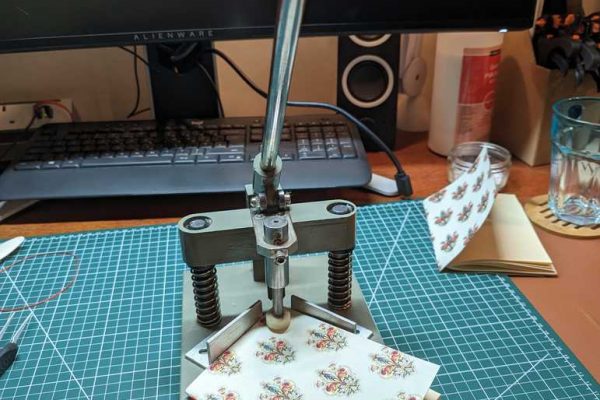
I will be using a punching cradle that I have made using the instructions I found on Paper Chipmunk’s website, to make the holes in the paper. You can also punch the holes without using one.
Also, I’ve made a template where the holes will be punched on the paper. I will be posting some instructions on how to create a template, soon.
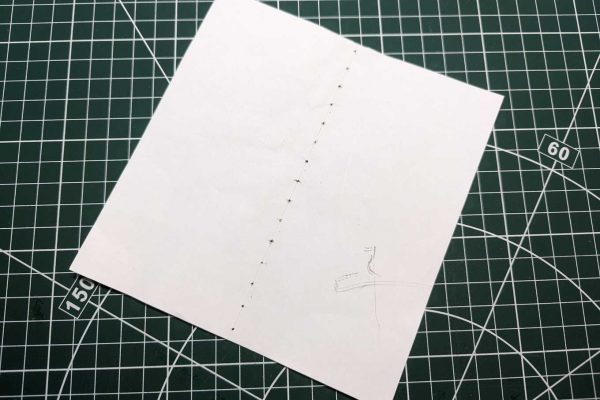
1. The template I am using has 15 holes to punch (but I’ve used templates with 7 holes).
2. I placed the batches of 3-4 paper in the punching cradle against a side and the template over the top.
3. Then I used my awl to punch the holes in the paper. Repeat this for all the pages and cover.
4. Once you’ve completed punching the paper, put them all within themselves so it looks like a pamphlet. NOTE: Make sure when punching the holes you put them down in a pile in the same way you had the template – this makes sure the holes are all in the same place when it comes to stitching them.
5. Don’t worry if the page’s edge isn’t level and the pages are sticking out of each other, this will be sorted once the stitching has been completed.
Stitching everything together
This is the section where everything is put together.
I’m using a red waxed thread that can be used for bookbinding and leatherwork, it’s 1mm in thickness. You can use any thread if you don’t have any bookbinding thread, it just needs to be thick enough and strong enough to hold.
If the thread you are using isn’t waxed, you can use a regular candle if you don’t have beeswax, by pulling the thread over the candle a couple of times.
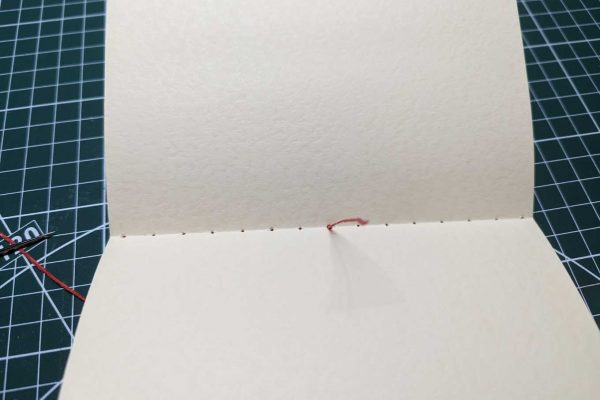
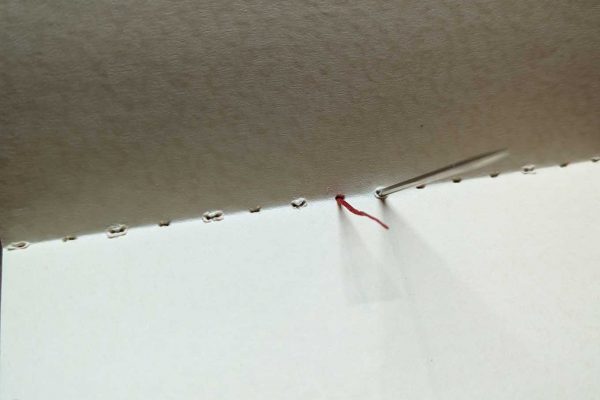
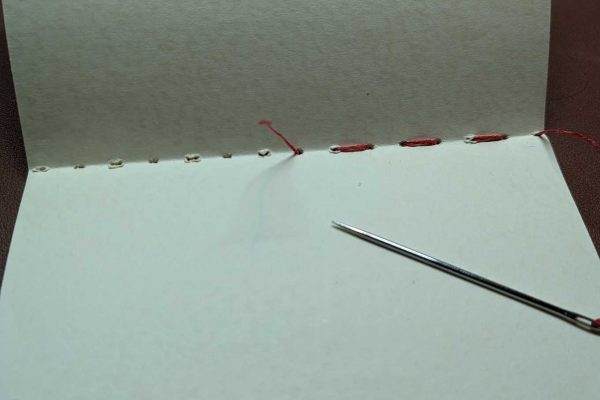
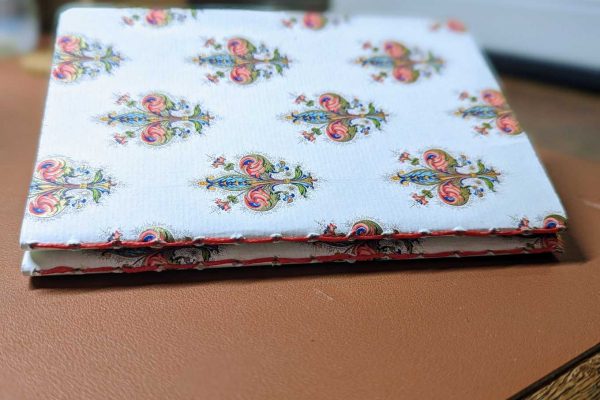
1. With the pages and cover together, I put the needle through the very middle punched hole from the inside, leaving enough thread-free for finishing up.
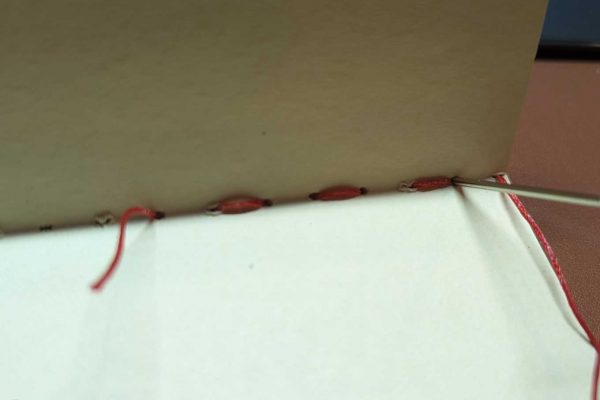
2. Then moving to the next hole down go back inside, and then back through the next hole. Make sure the stitches are taut when passing through the holes – but, pull the thread firmly but not too hard in the direction you are stitching.
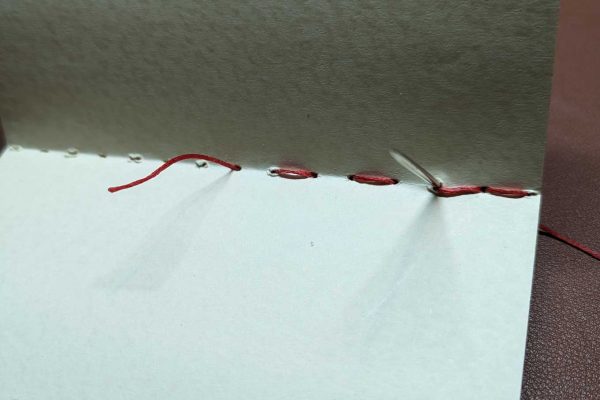
3. When I reached the bottom of the notebook, I then went back to myself. So I put the needle through the next hole where the thread has already passed. Until you reach the top hole of the notebook.
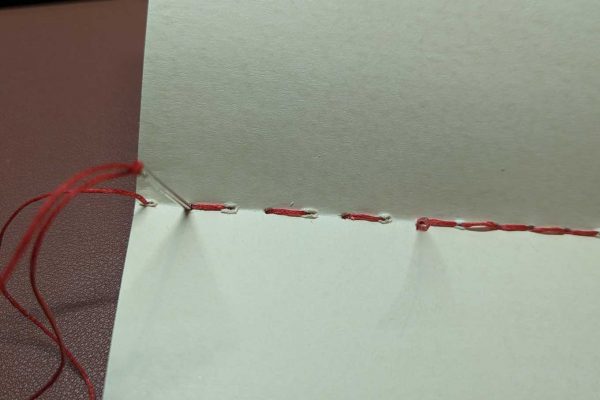
4. When I reached the top hole of the notebook, I then went back again like I did when I reached the bottom.
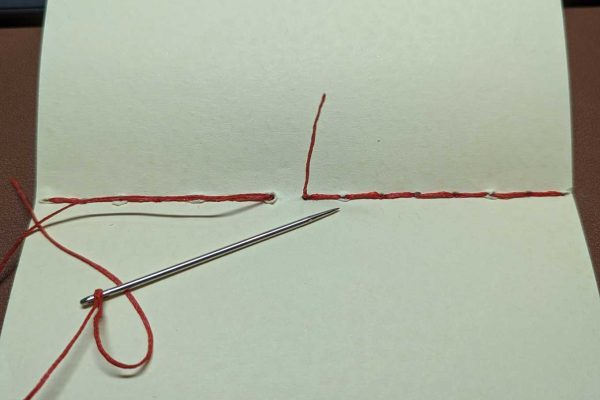
5. When I reached the hole next to where the end of the thread inside of the notebook, I stopped.
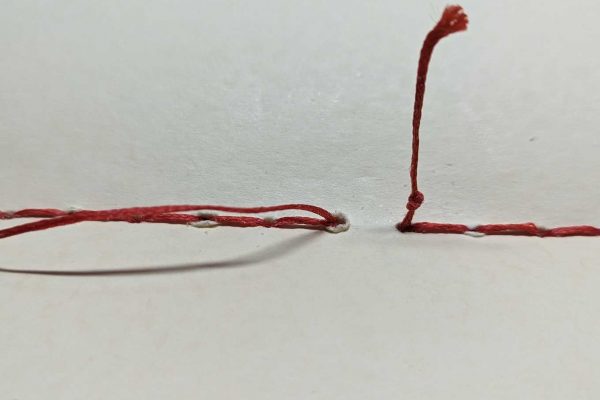
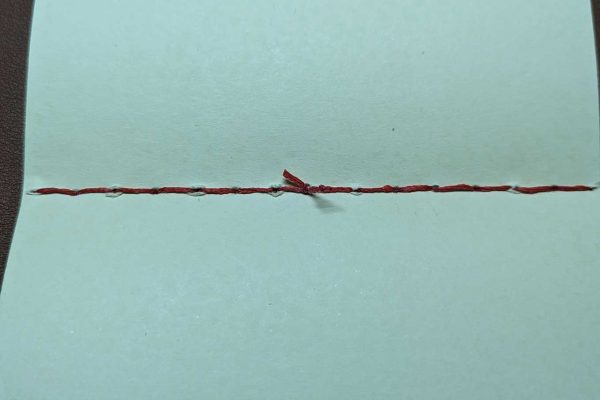
6. I tied a knot at the end of the thread close to the paper.
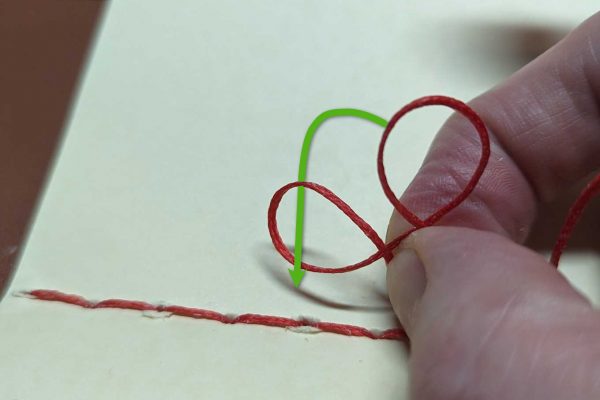
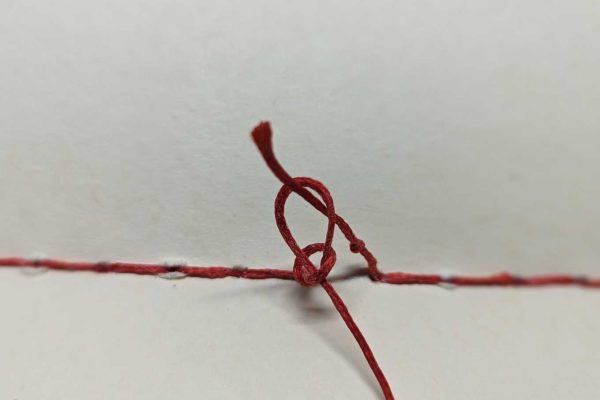
7. Then, I removed the needle from the other end of the thread. I created a loop, and then another, and put the second loop through the first so that I ended up with a loose knot.
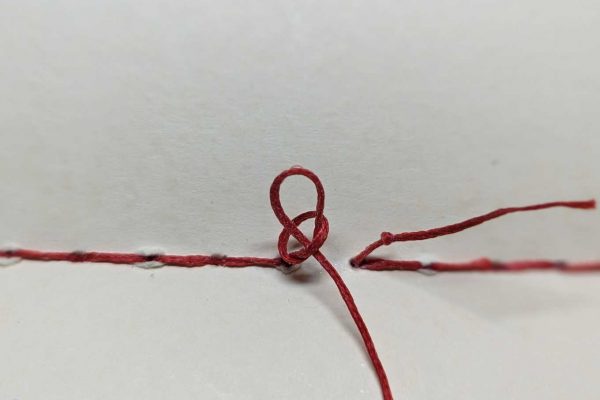
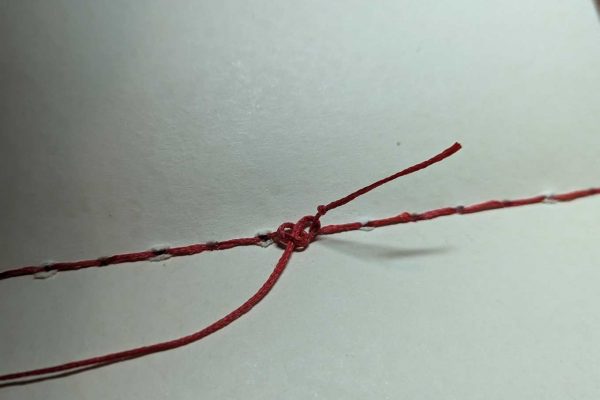
8. I put the loop over the end of the thread past the knot.
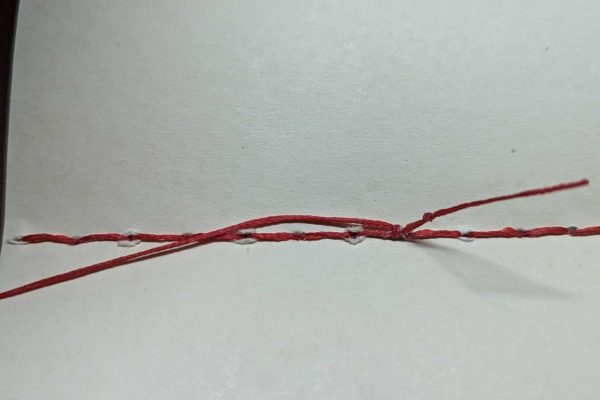
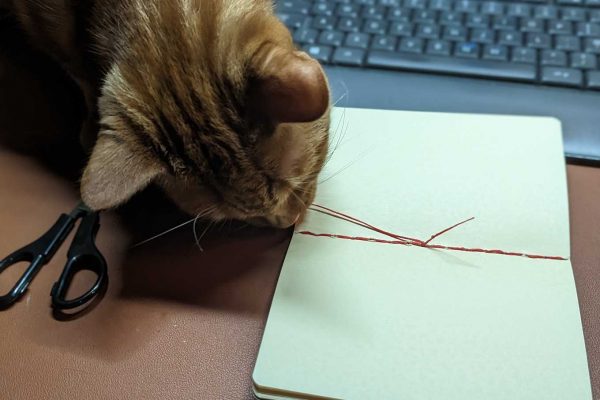
9. Then I pulled the end with the know away from the looped end while I was holding the loop’s tail. This pulls it tight against the paper and makes sure the loop is tight. I also received some help from Ziggy, making sure I had tightened it all up!
10. Once the knot had been tied, I clipped the ends of the remaining thread away.
Trimming the notebook
This is the finishing touches to your notebook, which is to trim the edges of the notebook straight and smooth.
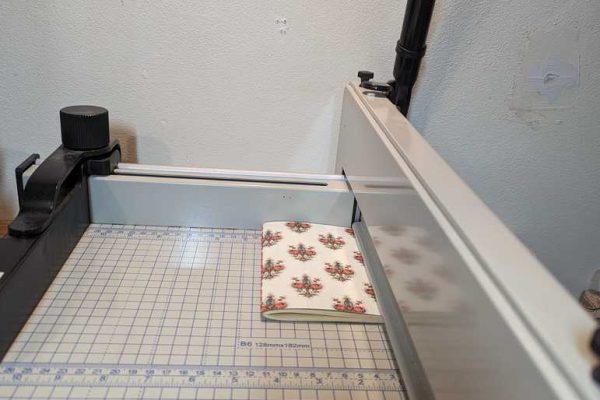
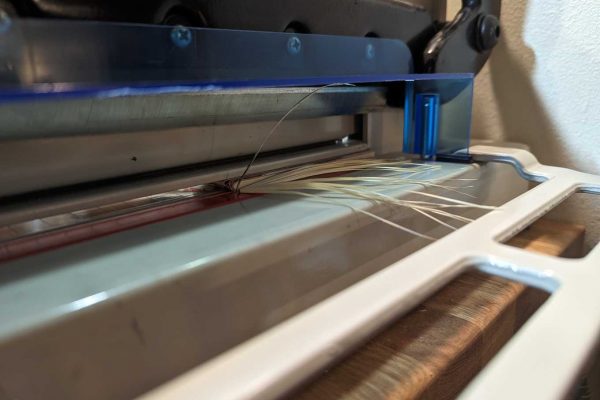
I used a guillotine to trim the edges of the notebook, but you can use a metal ruler and sharp blade – simply put the ruler along the edge of the paper and trim it in smooth strokes not using too much pressure! The head (top), tail (bottom) as well as the fore edge (opening) were trimmed.
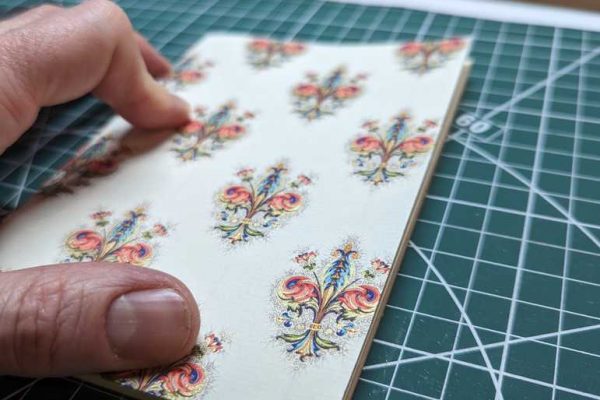
On a notebook, I do like rounded corners, especially on a softback notebook. So I used my heavy-duty corner punch to round them.
The finished product
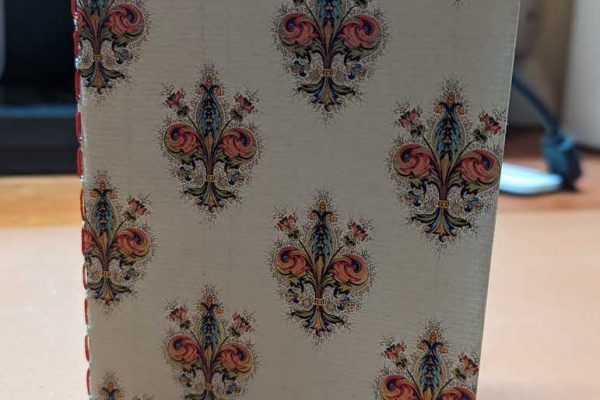
Here’s the finished softback notebook:
I hope these instructions were easy enough to follow, but please let me know your thoughts so that it will help improve future posts. Was it too long, could it perhaps have been split into shorter posts? Let me know.
