I wrote a post a few weeks ago, where I started to have a go at restoring an old book. If you haven’t read it yet, it’s called Book Restoration – Part 1. It’s a book I picked up at a car boot for 50p, it’s called Clark’s Introduction to Heraldry and was in pretty bad shape. I’ve never done anything like this before and was always interested in giving it a go.
I mentioned in part 1 of the post that I know I am not a professional book restorer, and I know that what I am doing isn’t going to be the correct way to do things. For me, it’s about getting practice, and seeing if I can restore a book and bring it back to life again. If this was a very expensive or priceless book to restore I wouldn’t be touching it!
Putting it all back together
Because the spine was pretty damaged and I knew I wouldn’t be able to stitch the signatures back together again, my thoughts were to glue it and make it a “perfect binding”.
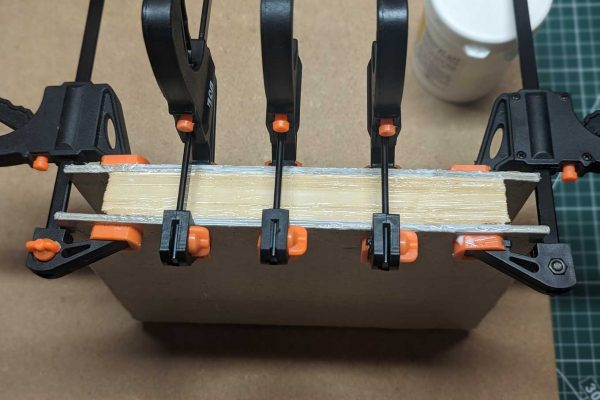
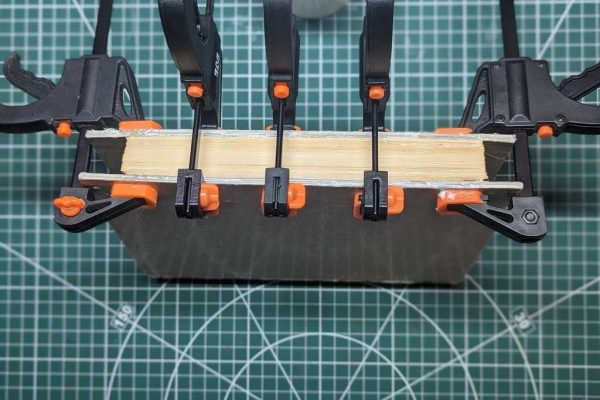
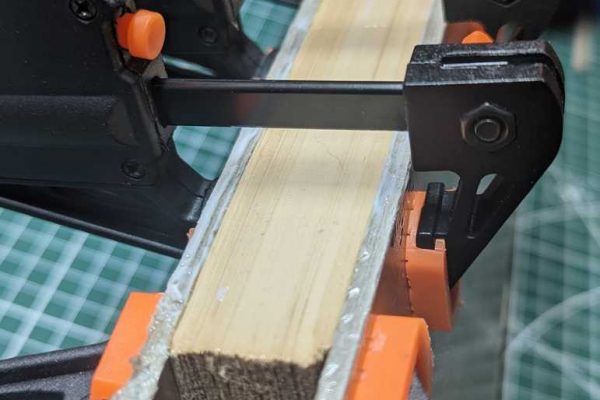
Then placed it between two boards and clamped it together where I glued the spine.
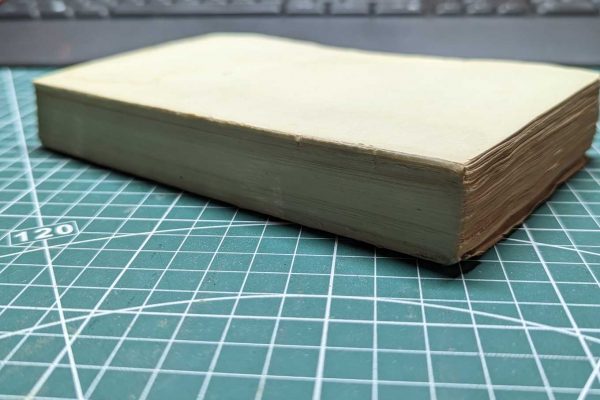
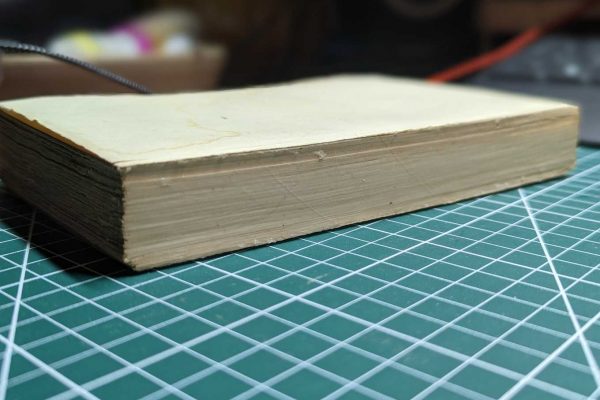
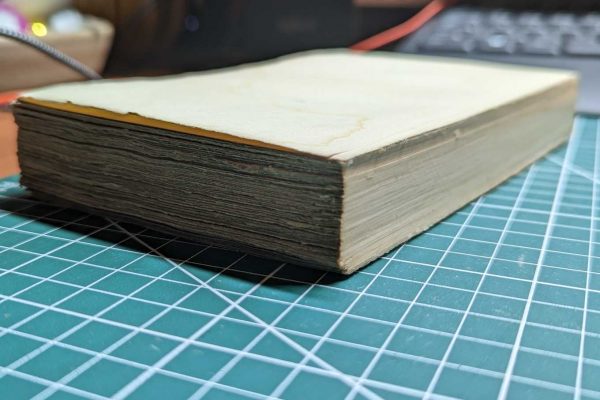
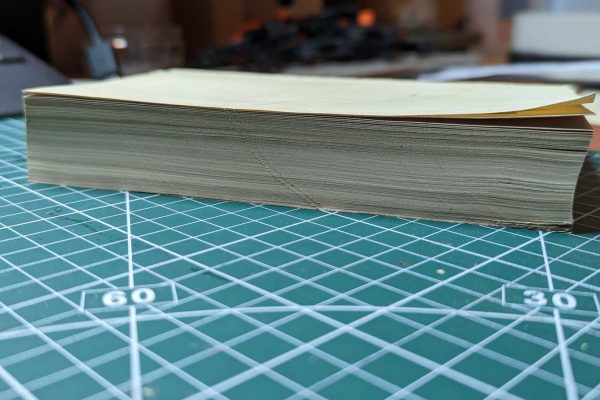
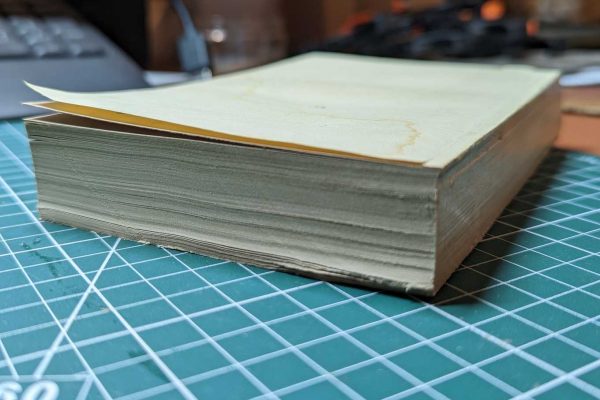
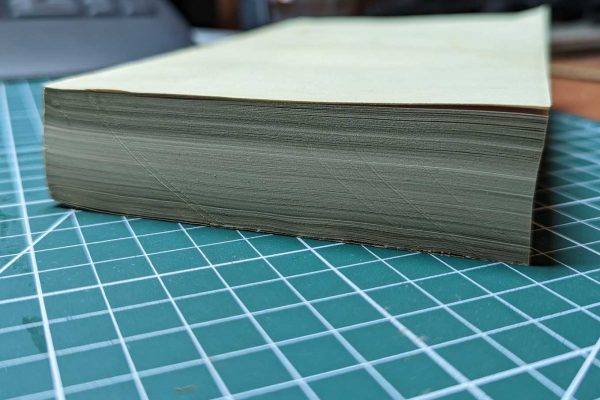
When the glue had dried I then trimmed the head, tail and fore-edge of the text block to neaten the edges up in the guillotine.
Strengthening the spine
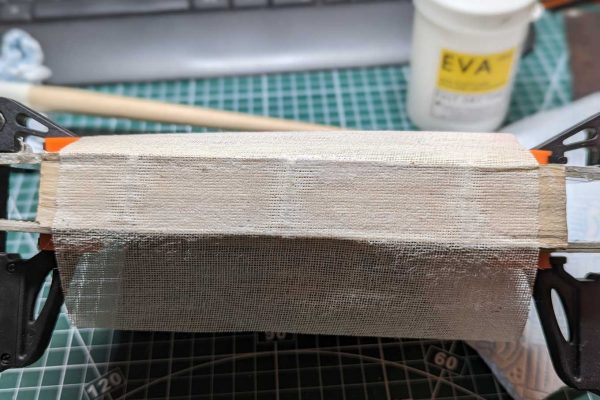
Because the text block is a thick one, my thoughts were that just the glued spine wouldn’t be enough (even with the mull attached). So I decided to give something else I had never tried before a go.
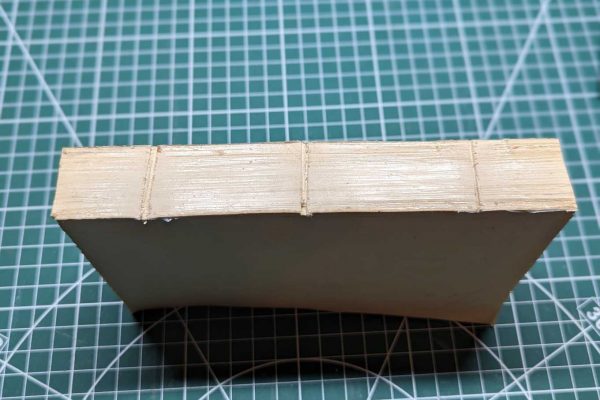
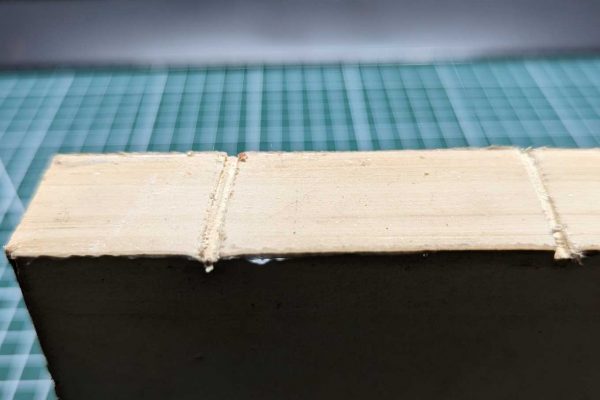
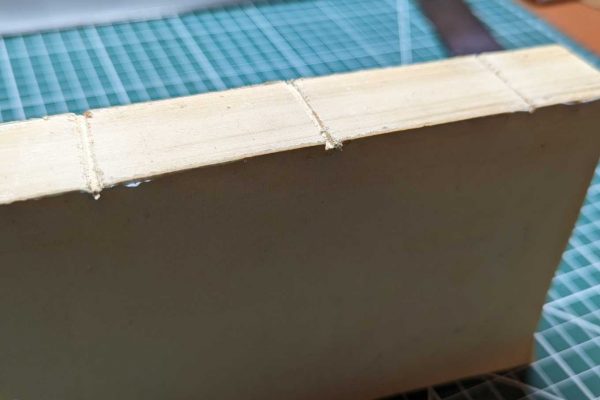
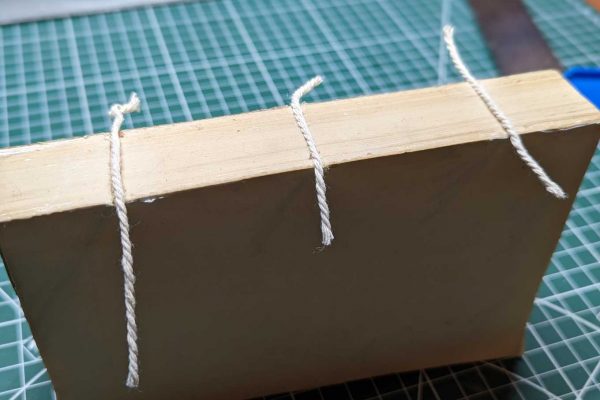
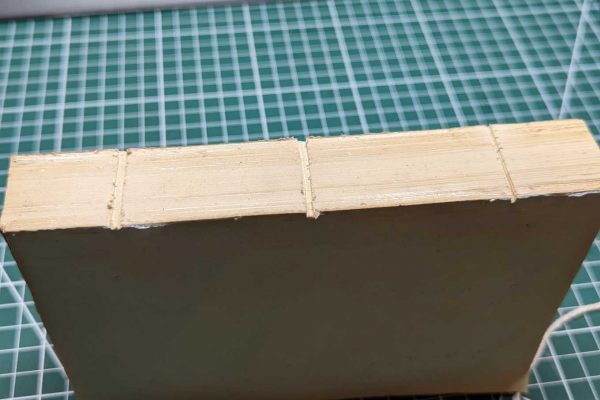
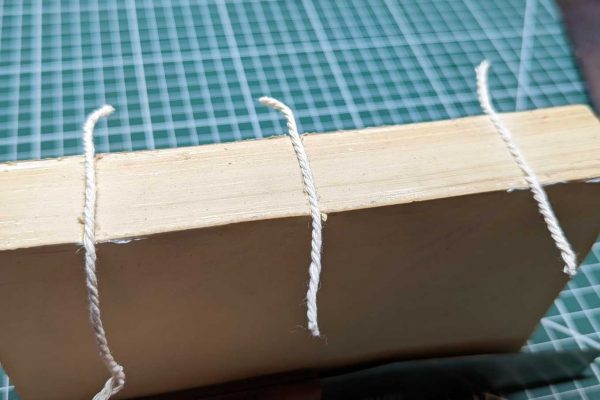
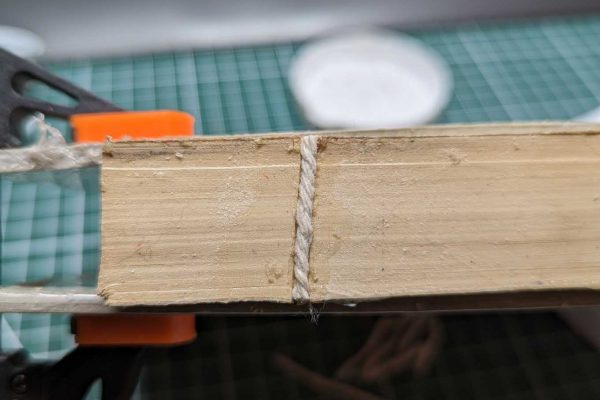
What I decided to give a go was to add string by adding 3 notches to the spine and glueing the string into the notches. This was something I had seen a few times done in other people’s works, but I saw this process being used in a YouTube video by Annesi Bindings where a book was being restored.
I hadn’t got a saw suitable enough to cut into the spine, all I could find was a hacksaw and although it did cut into the paper the teeth of the blade were not big enough to properly cut into the paper.
I got there but it took more work than needed and looking back at it I didn’t cut deep enough. So next time I’m in a B&Q I’ll perhaps pick up a saw that will do the job.
I added the mull to the spine once the glue had dried after placing the thread into the notches.
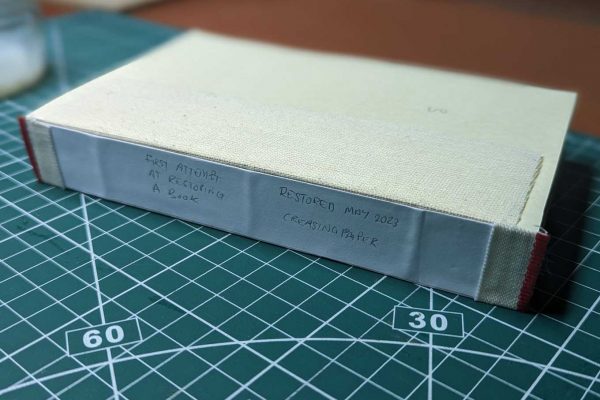
Lastly, I add paper to the spine. I placed the spine down on the paper and folded the paper up the sides to get the fold lines and width of the spine. I then fold the two ends over the middle so that there are three layers.
I glued the paper to the spine, starting with the middle section of the paper first, then applied glue to that section just glued, folding one of the sides onto it, then repeating for the third part. Each time I use my bone folder to push the paper down and make sure it is all stuck down nicely.
As you can see in the photo below, I also added headbands to the top and tail of the text block.
I almost forgot…
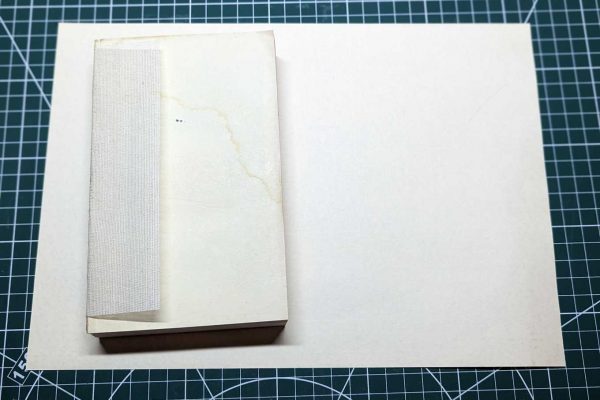
I had got to the point where I had added the mull to the spine and realised I needed to add the endpapers. So I quickly added them (as shown in the above image), but I used some cream-coloured paper and thought this would match nicely with the rest of the book.
The next, and last part (3) will be me making the cover for the book.
