I found myself watching videos on YouTube about book restoration recently. It’s not been long since I started making books again, so I know this is like “learning to run before you can walk”! But I wanted to have a go at it. I am also thinking that this can help build my bookbinding skills.
There were a couple of videos that I found helpful and got me started thinking about giving it a go. A couple of videos that helped me were from Annesi Bindings and DAS Bookbinding. There are plenty more videos on YouTube out there, some were way too advanced for me but interesting all the same!
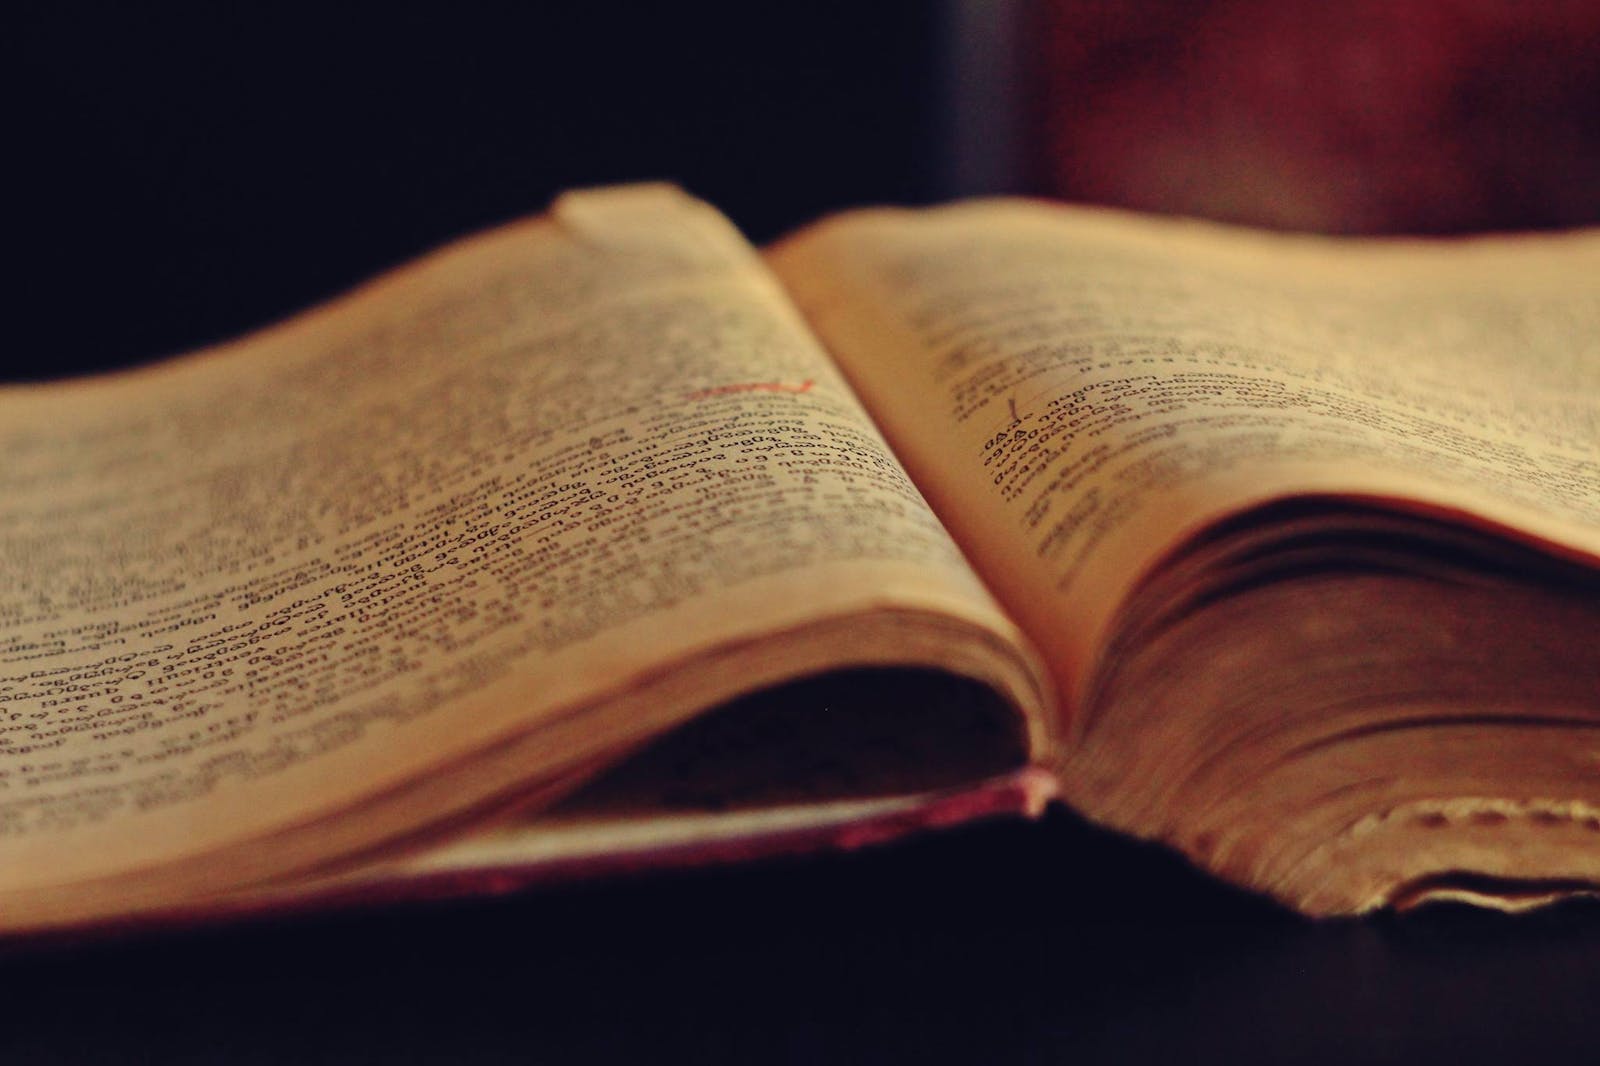
All I need are old books!
Having this idea to try restoring books, all I needed was to get hold of some.
The car book season has now officially kicked off! So where better to get some old books and to have a go at restoring one…the good old car boot! There is a car boot near us in Great Amwell which is a big one to visit, and I managed to find a pile of books to have a go at restoring for 50p each.


Dismantling the book
As mentioned I have never done this before, so I would like to apologies to any professional book restorers potentially reading this before I continue!
The front cover was partially attached to the spine, and the back cover was being held on by one piece of thread. So that was an easy step by cutting the thread to allow it to be detached from the block.


I did cut the spine from the front cover, so this means both the front and back are separate. I’m not sure at the moment if I will try to reuse the covers again, but let’s see.
Next, I carefully removed the old glue and paper used on the spine which was all dried up and cracked. I also removed all the thread that was holding the signatures together as well because it was broken in parts and perhaps because of that the block itself was loose.


I planned to see if I could do fresh new stitching but a lot of the paper was damaged and torn or bits missing, also several pages at the back of the block were individual pages and glued originally. So I thought I would turn it into a perfect binding by glueing the spine.


With that, I thought I would tidy up the spine by separating the signatures, some of the pages had perhaps gotten damp over the years and on the head and tail near the spine some had stuck together, so I had to slowly, and carefully pull them apart or use a sharp knife to cut them.

I used my bone folder to flatten the folded paper a little and then used my shoe knife (or cobbler knife) to cut the paper at the fold lines. Then piled them up in order.


Once I had finished cutting the signatures I lined the block all up and put it in my press to flatten since it had been cut, and several pages had curled over the years.

What’s next?
In part 2 I will be putting the text block back together ready for the cover. See Book Restoration – Part 2.

