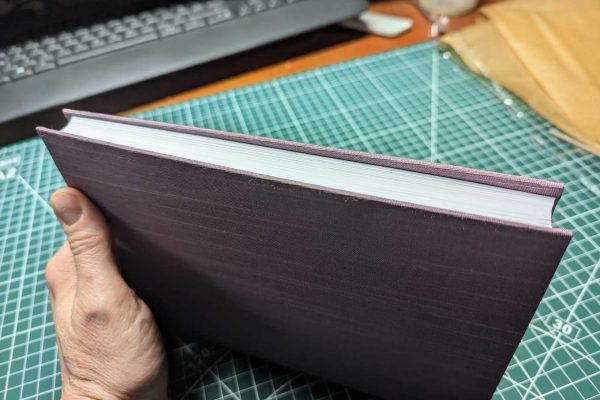
Since I’ve been getting back into bookbinding I thought I would give it a go at creating notebooks with rounded spines. This is something I have wanted to give a go for a while, but was always afraid to try it, or thought it wasn’t something I would be able to do! But, how are you going to learn if you don’t try it?
This post isn’t a tutorial, I must admit these have been in the making for several weeks and even before I started this website. But I wanted to share my experience making these notebooks for the first time.
Rounding the spines
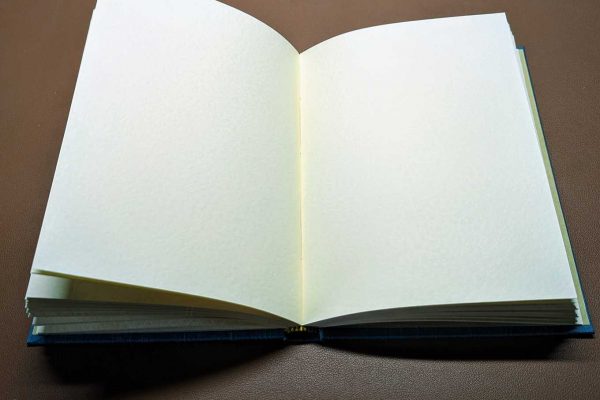
So I made the text blocks, one of them was with yellow A4 notepaper I had lying around, and the other with regular A4 printer paper. I completed stitching the signatures together and glued the spines.
Once the glue was dried I got my hammer, which was a regular claw hammer…I don’t have a specific hammer you would use for bookbinding. Then, started to hit away at one side of the spine until I could see it rounding, then flipped it over and did the same for the other side.
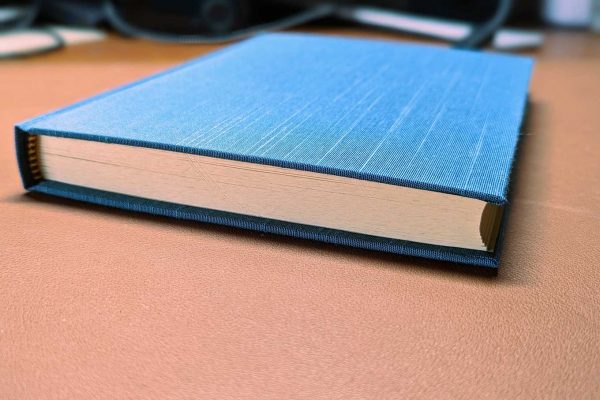
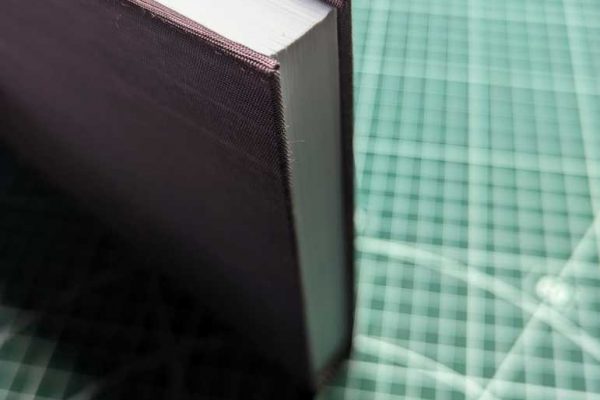
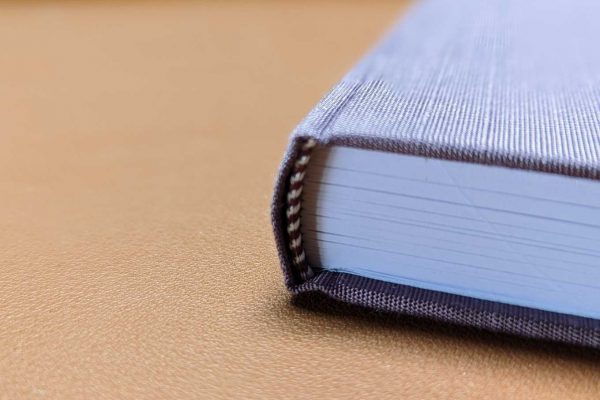
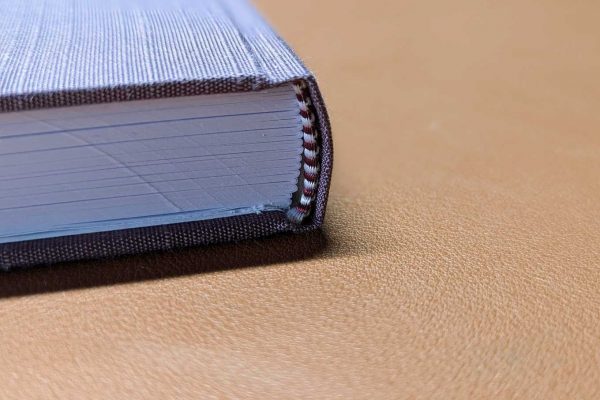
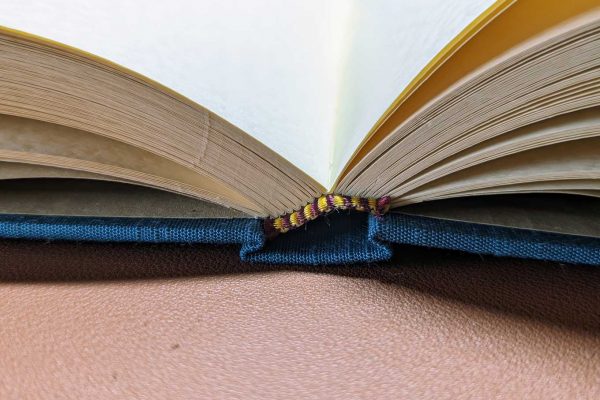
Being the first time trying this, I wasn’t sure how hard to tap the spine, but I managed to get it rounded. It wasn’t ever so rounded but it was enough for a first try, and I didn’t want to over it do it and go too far!
How did they turn out?
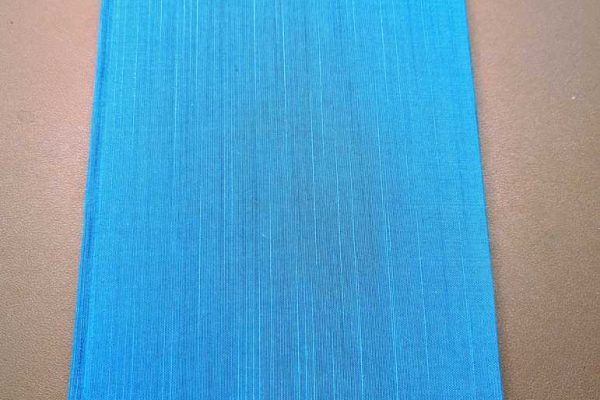
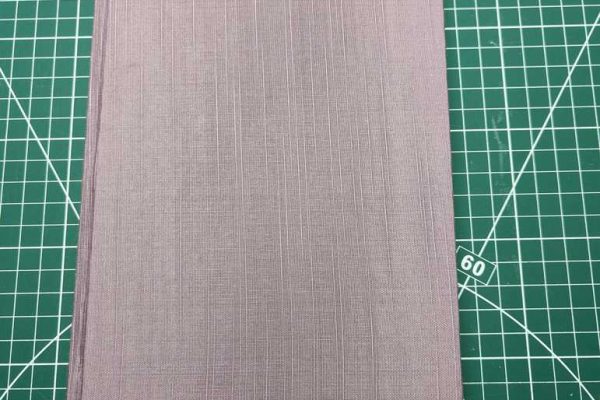
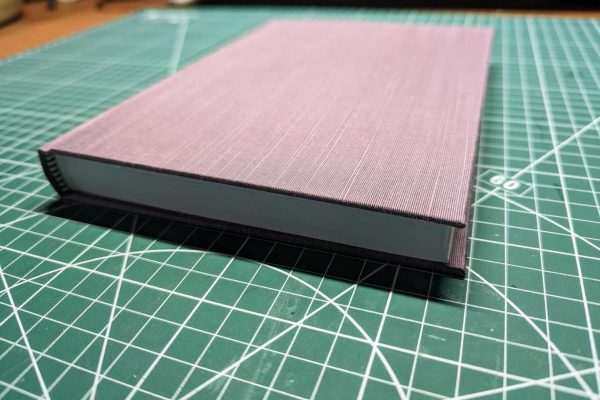
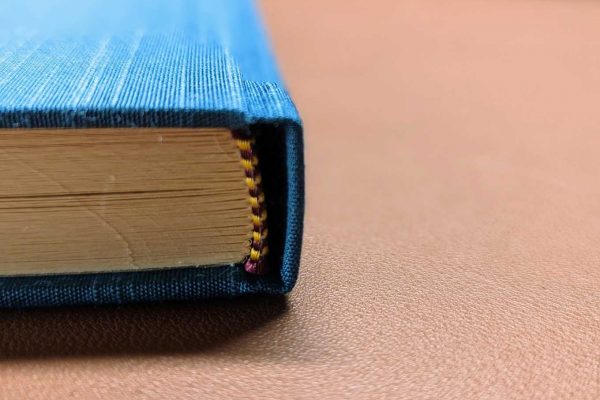
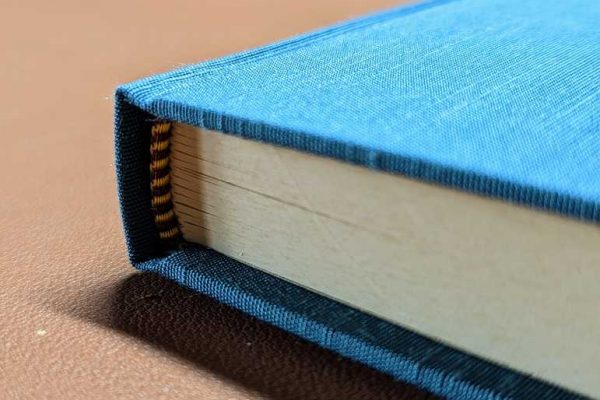
When it came to the covers of the notebooks I used material. For one of the notebooks I used a lavender colour and the other was teal, and I’m pleased with how the covers look.
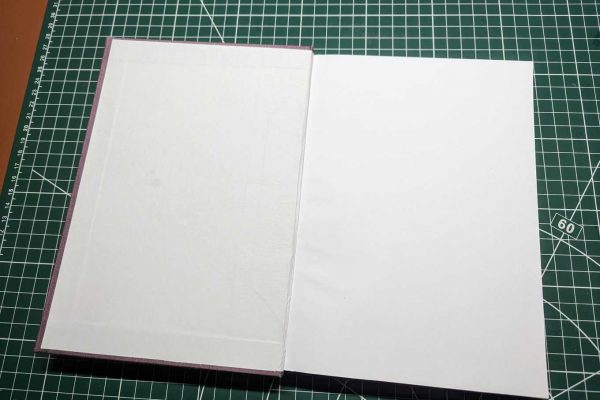
It wasn’t until I was glueing the text blocks into the covers I found that I didn’t quite get those spines straight. I think they were just slightly out because when I was rounding the spines I didn’t use any clamps to hold it in place, but the main reason is it’s the first time I have ever tried it! So I’ll stop with the excuses now! What I noticed was, that the spines weren’t straight, they ended up being slightly out when they were glued in the covers.
With the lavender-covered notebook when I was glueing it, I made sure the text block was in the correct place against the spine of the cover as you would normally do. This ended up being slightly skewed, but nothing major.
For the teal-covered notebook, it was the same issue where the spine was slightly skewed. So, this time I tried to line the text block with the actual cover itself rather than being in the right place to the spine of the cover. This ended up being better when it was glued in, as it was straight! However, because the spine of the text block was slightly twisted, the head of the spine isn’t sitting quite right, but the tail sits perfectly.
With these minor issues, I’m still really pleased with how they turned out. It’s only going to make me more determined to give it a go again. I’m not saying that the next attempt will be perfect, but it’s all about the practice!
