I completed making a notebook with a quarter-binding cover, which was my first attempt at this method of covering. So I thought I would create a slipcase for this notebook.
What is a slipcase?
A slipcase is a 5-sided box where you can slide a book into which is designed to keep it protected.
I’ve made some slipcases for some notebooks in the past, so it was a case of getting some practice in again.
Making the slipcase
Measuring
I measured the height, width and depth of the notebook I was creating the slipcase for, I added about a millimetre onto the measurements because of the material I planned to use to cover the case.
When I had the measurements, I cut all the pieces out from the card that I use for book covers (2mm thickness). As you can see I had help from Ziggy!


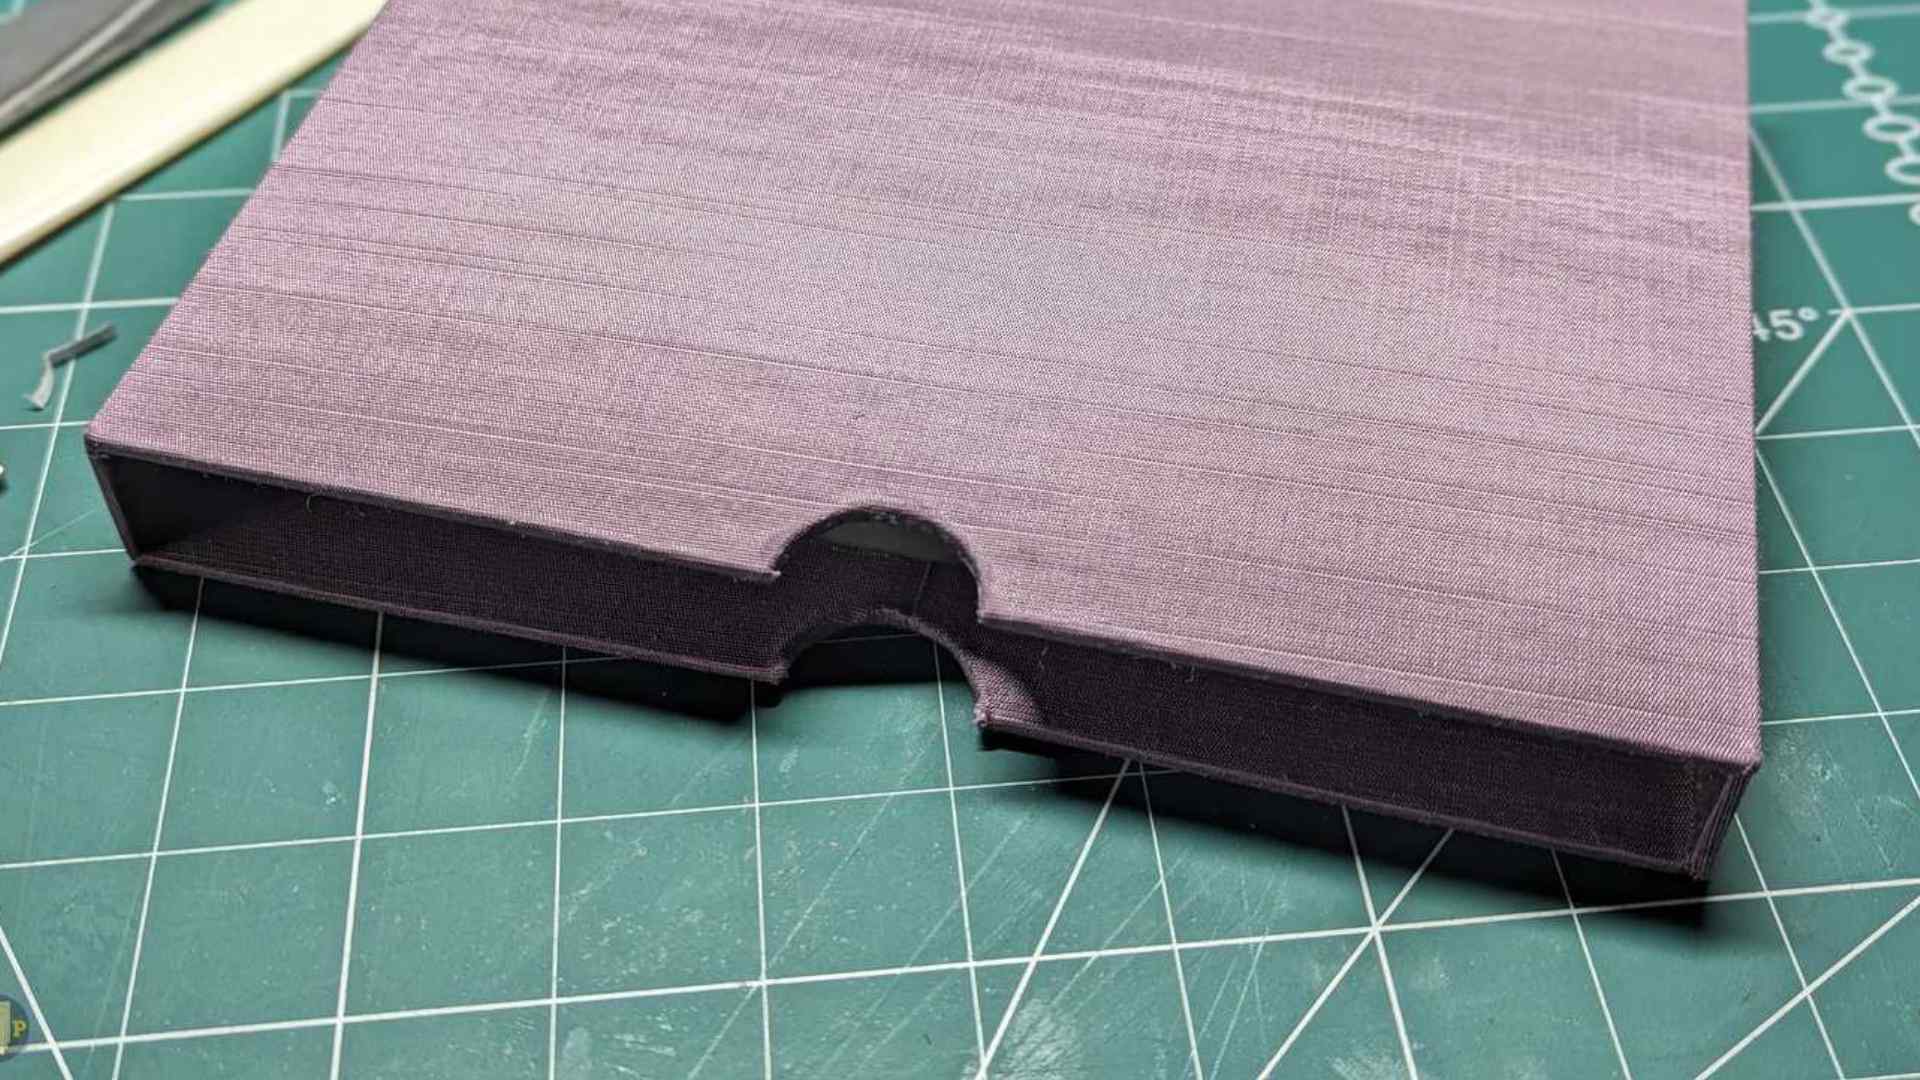
You can see in the images above I have made thumb cutouts on the sides. I plan to allow the notebook to slide right inside the slipcase because I will be covering the slipcase in the same purple material I used on the spine of the notebook. So this will make it look like a 6-sided box then.
I’ve cut out 2 sides with thumb cutouts, and one head, back and tail panel which makes the depth of the case.

The back panel will be the full height of the two sides, and then the head and tail panels will be the full width of the sides, but 2mm shorter to fit up against the back panel.
Internal covering
I covered what will be inside, with boards with light grey paper. Glue was applied to the card and stuck to the paper, where I cut roughly 5mm around the card. I then placed the parts of the slipcase in the press to dry.
Once they were dry, I cut the remaining paper so that it was flush with the card – I did this when it was dried because the paper can tear especially when slightly damp from the glue.


Both our fur boys helped by holding the card down while it was trimmed, and then helped clear the paper up…such helpful and good boys!
Gluing together
When it comes to the glueing I use EVA glue as this provides a strong bond, but also quick drying. This means you are not holding for too long while waiting to dry.
I started with the back panel first, I then glued the head and tail, making sure the grey paper side was on the inside. I used a set square to make sure the sides were at a 90-degree angle.

Once these sides had dried, I then glued the remaining side panel on top making sure everything was lined up perfectly. Once it was sticking I then put it carefully into the press with a small amount of pressure to let it dry overnight.

The next morning once everything was dried I tested the slipcase with the notebook to make sure everything would fit.
As you can see below it’s slightly too big, but once the outside of the slipcase is covered it will fit nicely.


Covering the outside
Unfortunately, I didn’t take many photos when it came to the covering of the slipcase, so here are the photos of the finished slipcase.


I am planning to create more video content, and creating a slipcase and cover which will give you a little more details. I just need to get a tripod of sorts for my mobile to be able to record video.


