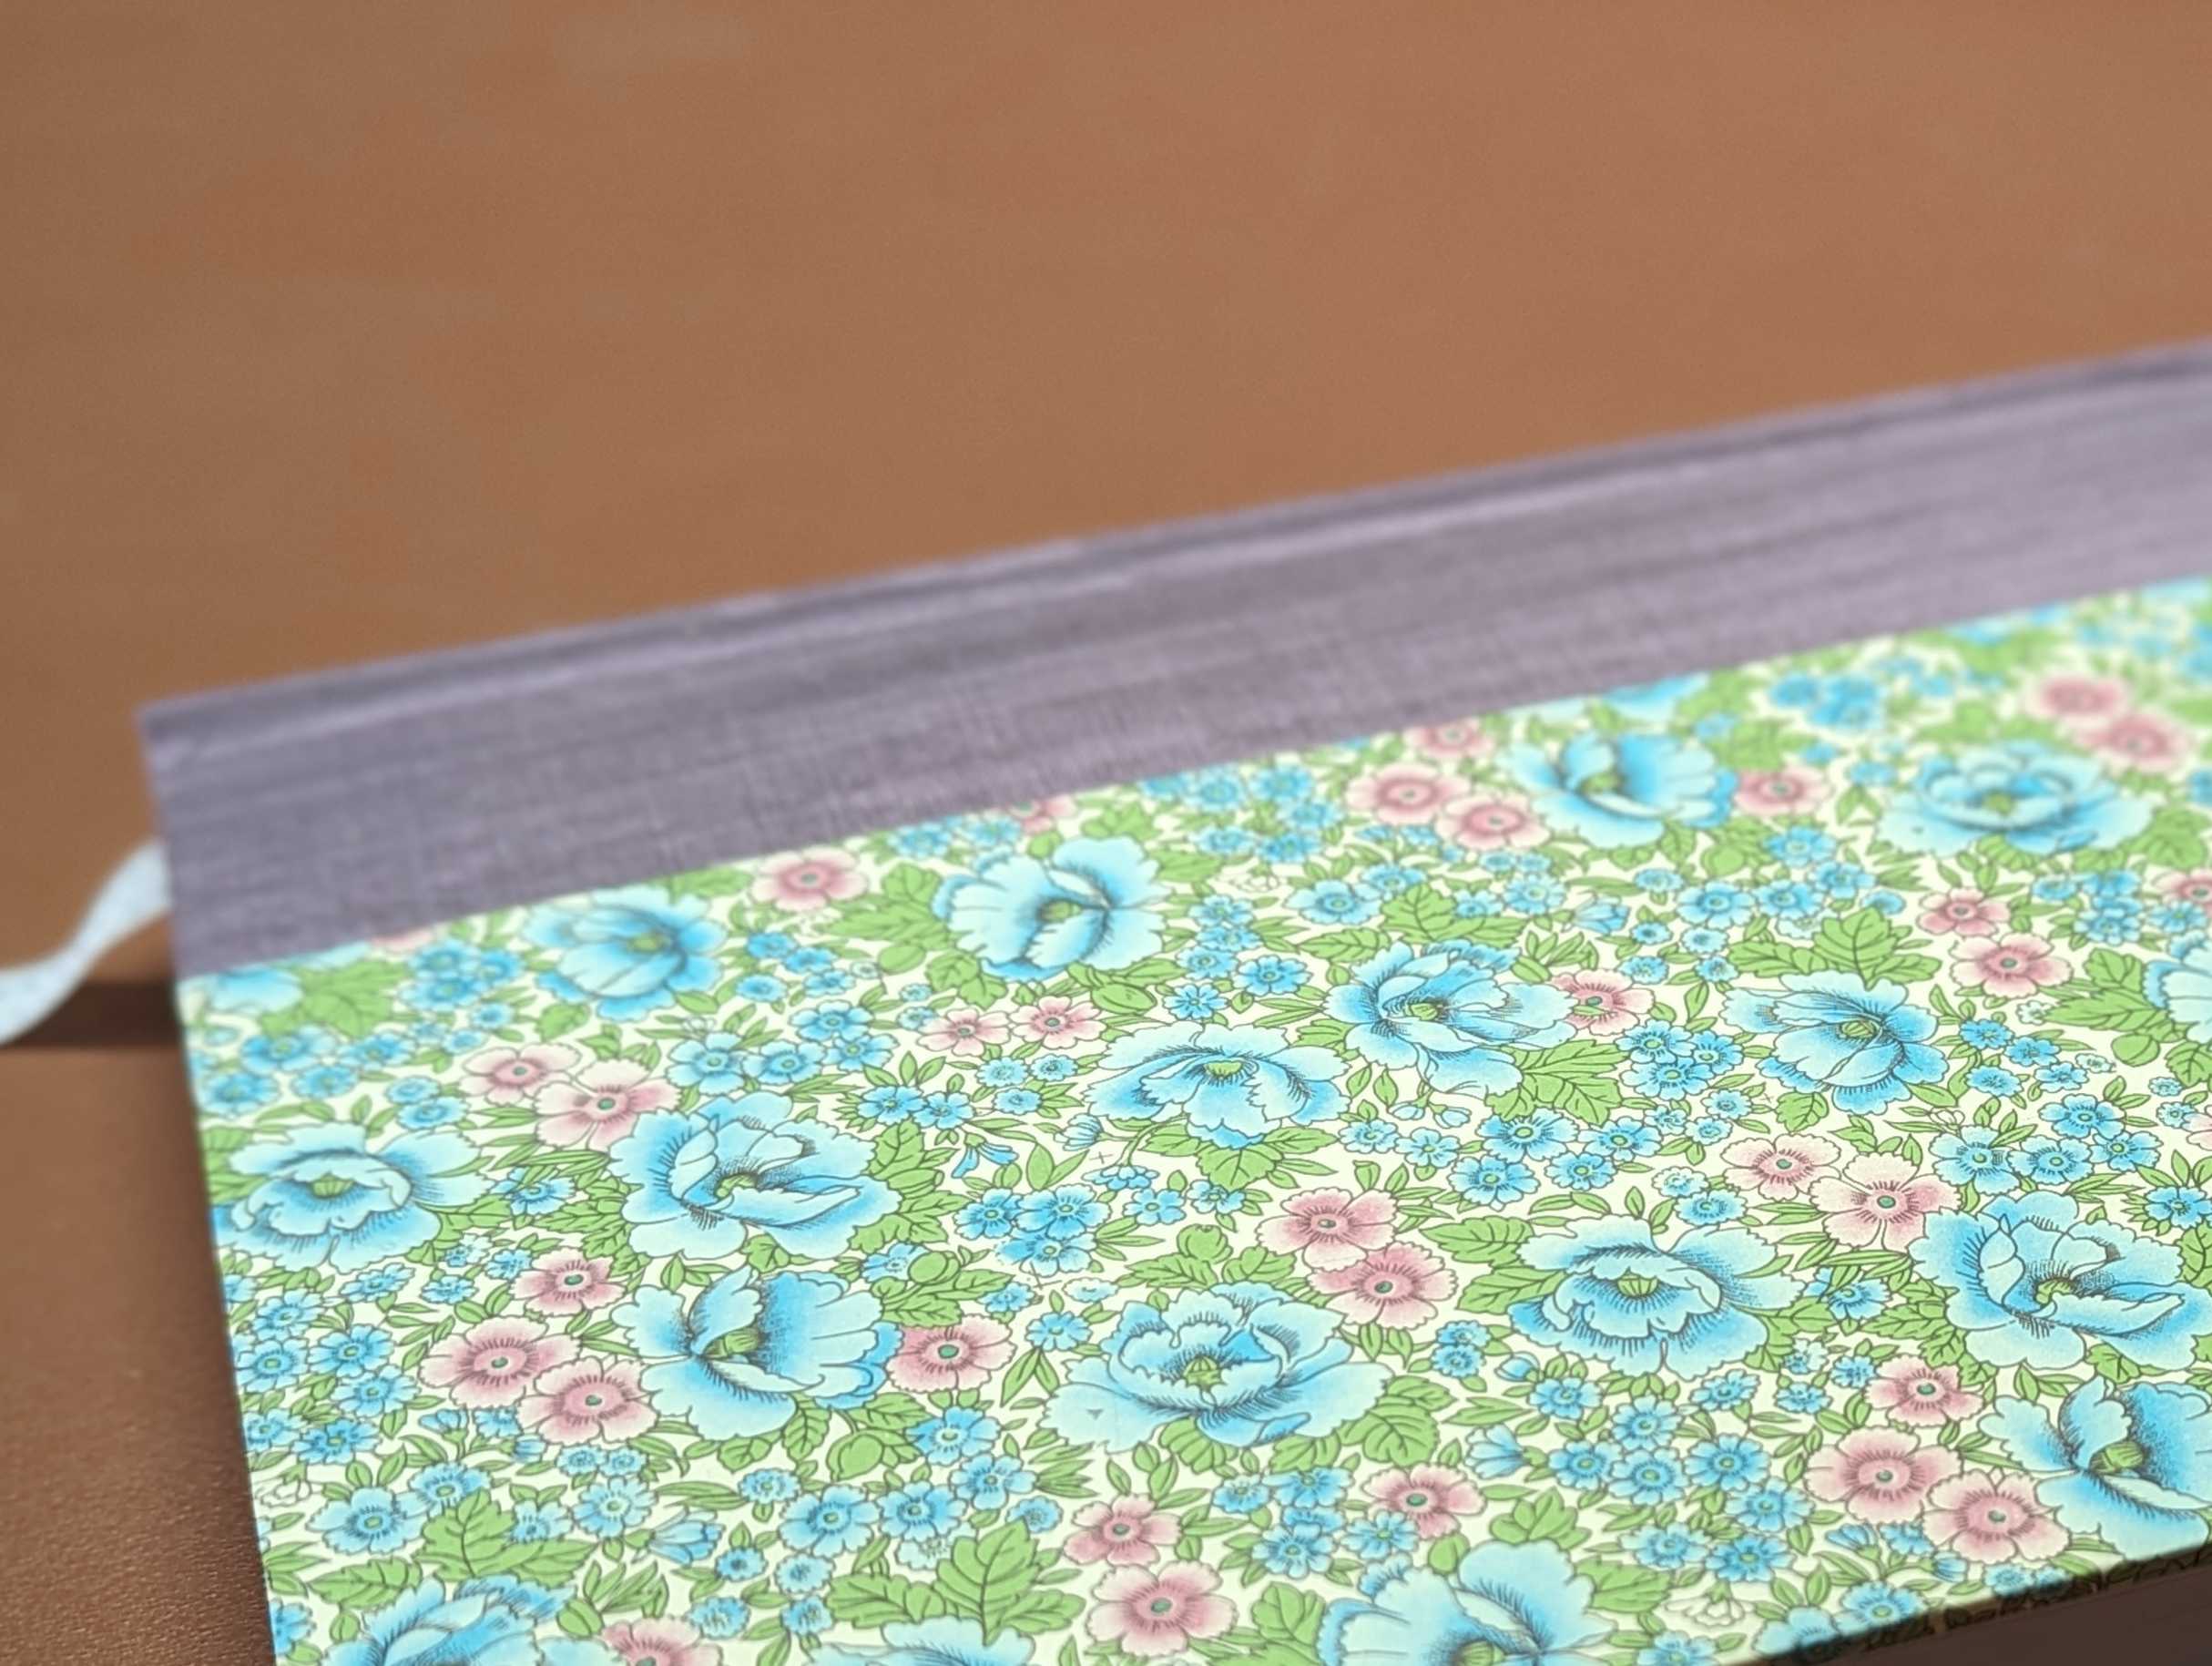
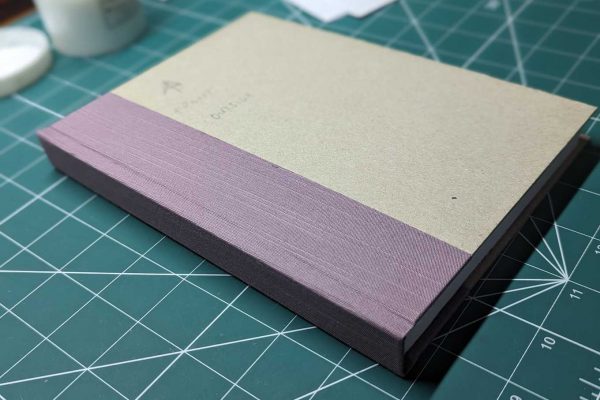
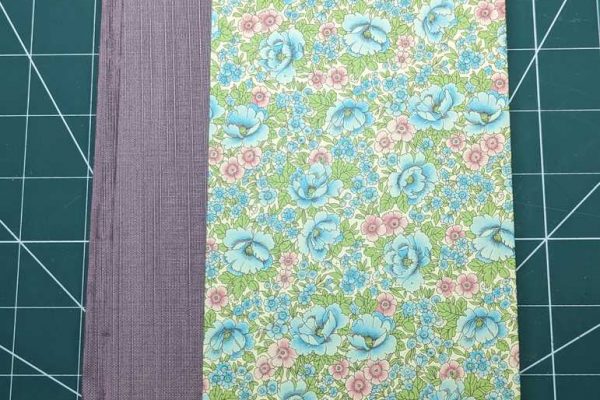
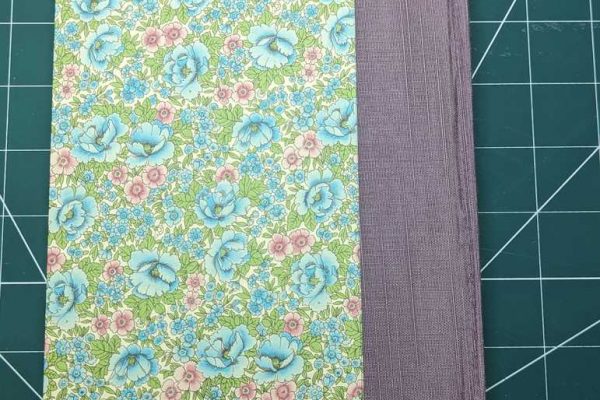
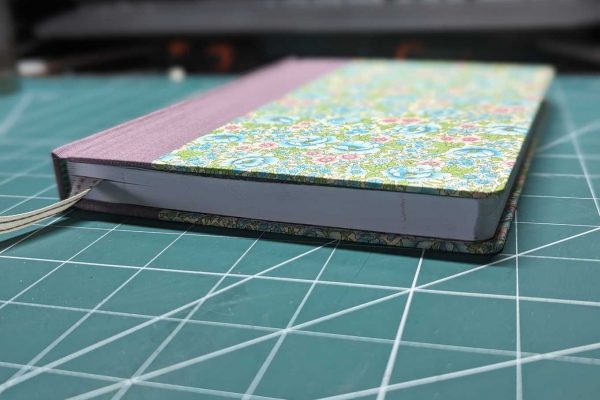
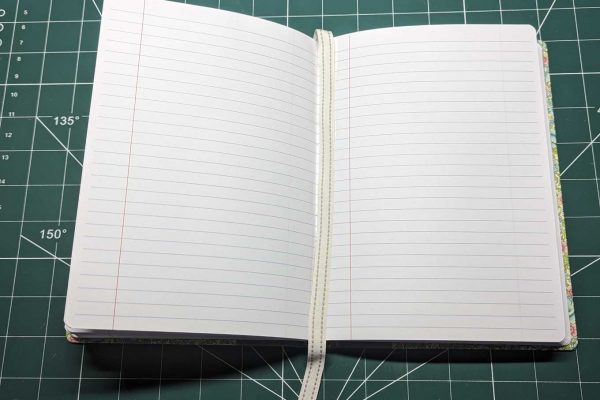
I thought I would give it a go by creating a “quarter binding”, which is where the spine and back quarter edges of the boards (front and back cover) are covered with leather, or in my case a material. Then the remaining section of the boards will be covered in paper.
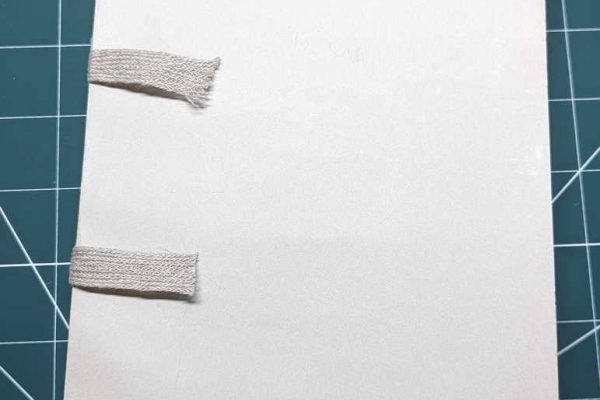
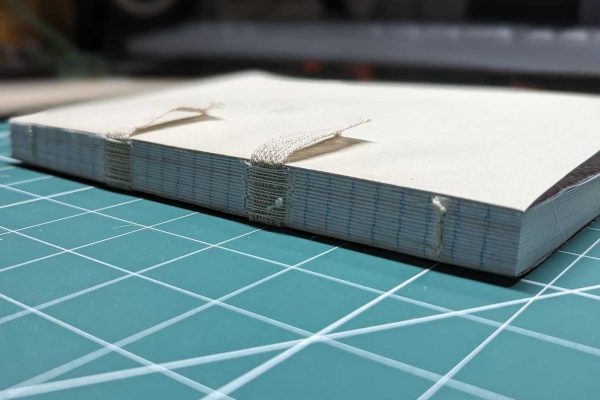
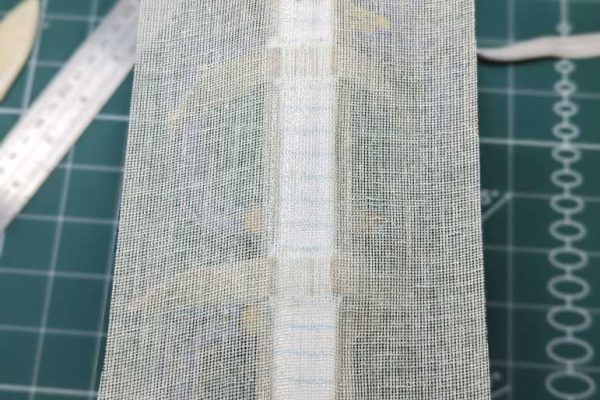
Text block
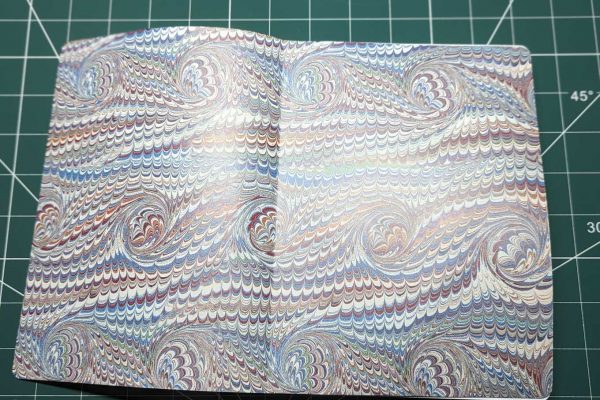
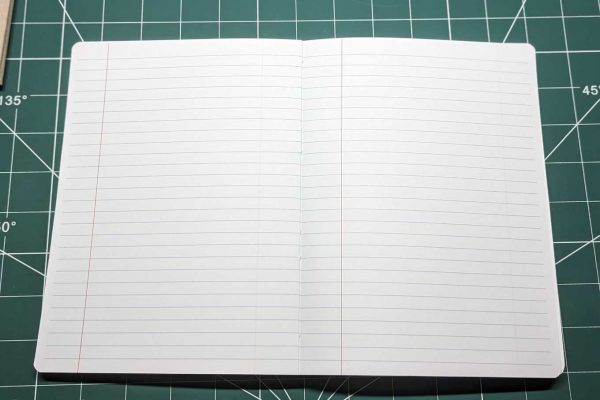
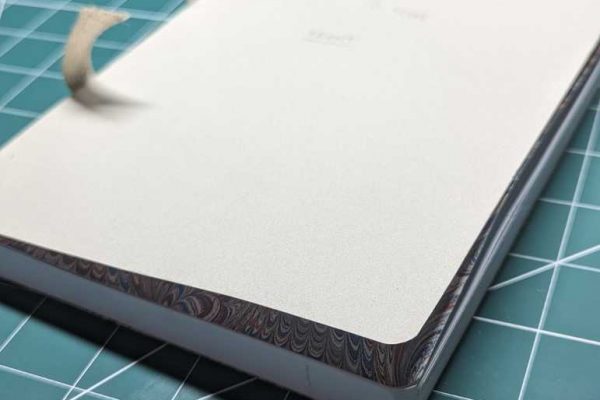
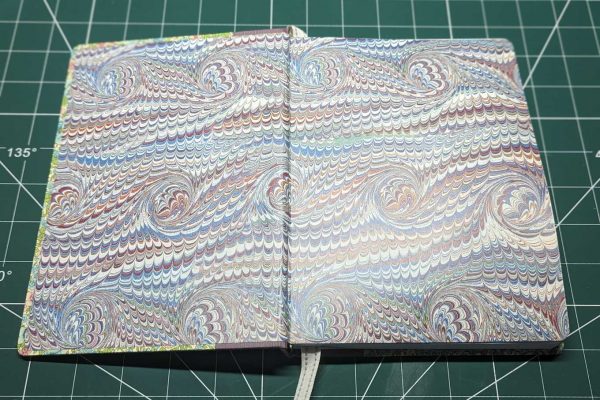
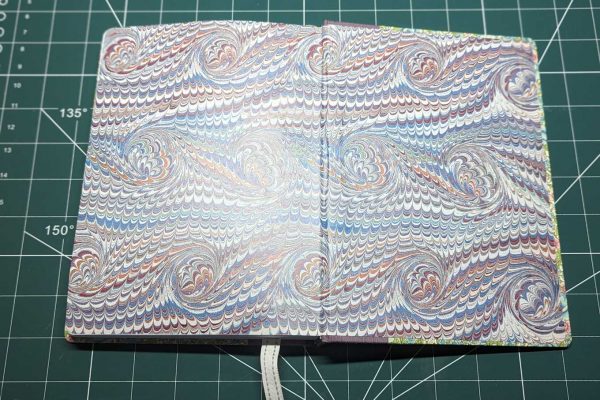
I used the lined paper for the signature pages which I created using Affinity Publisher, and then some marbled paper I had purchased from Shepherds as endpapers.
The cover
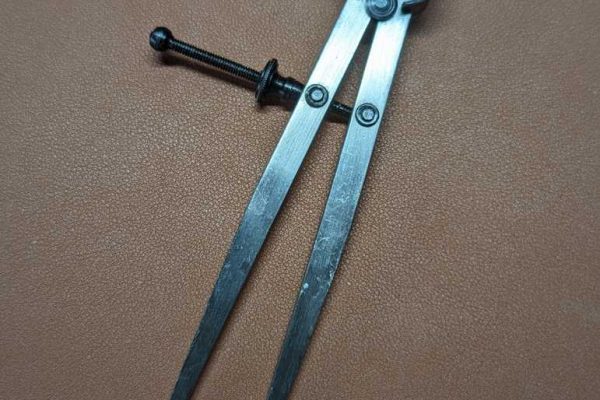
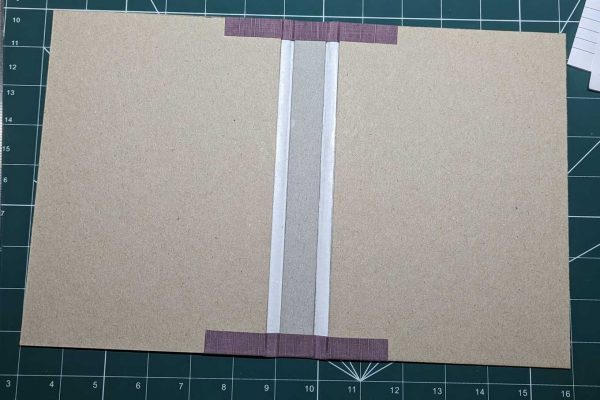
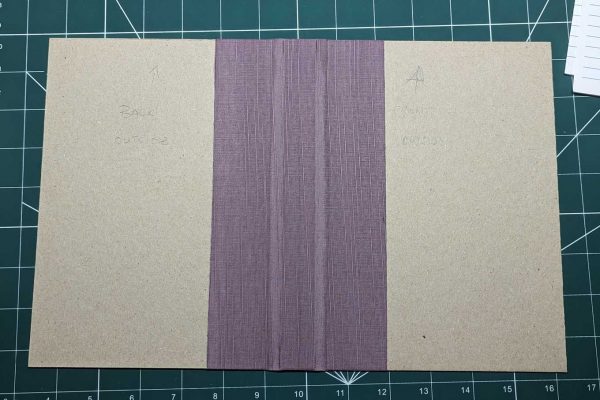
I used a purple material for the spine and the back quarter of the front and back boards. Simply divide the width of the front (or backboard) into four to get your quarter and mark it on the front and back boards – I used a divider to mark, but using a pencil and ruler will do the trick.
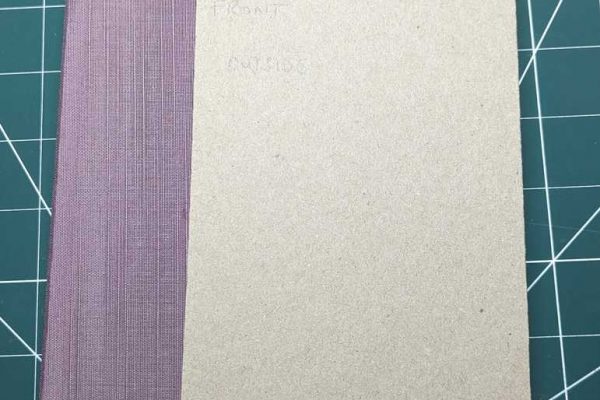
I then cut and glued the material to the spine and boards, carefully lining everything up, otherwise if the material is not straight it can cause the paper that will be used to cover the remaining parts of the boards to be all out of kilter.
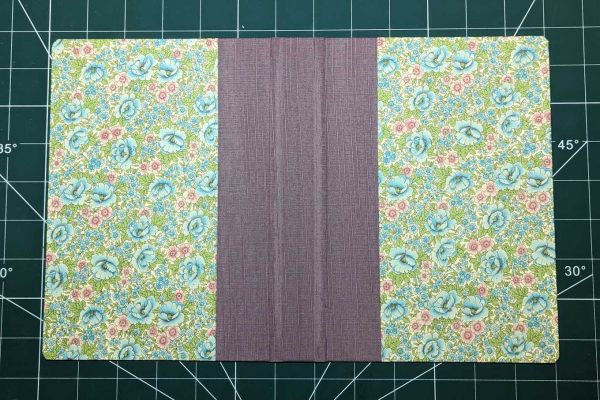
I found some lovely paper from Shepherds that would match perfectly with the purple material. So, I cut this to shape for both the front and back boards.
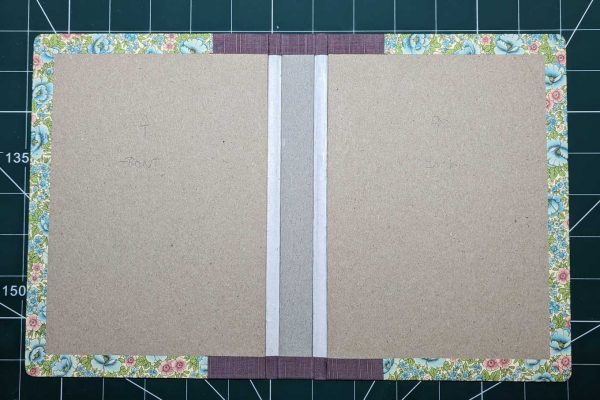
I then applied the glue to the paper and overlapped the paper about 1mm over the purple material. You need to make sure you have enough glue applied to the paper so that it sticks down nicely, but you don’t want too much, that glue spreads out and goes all over the material and paper.
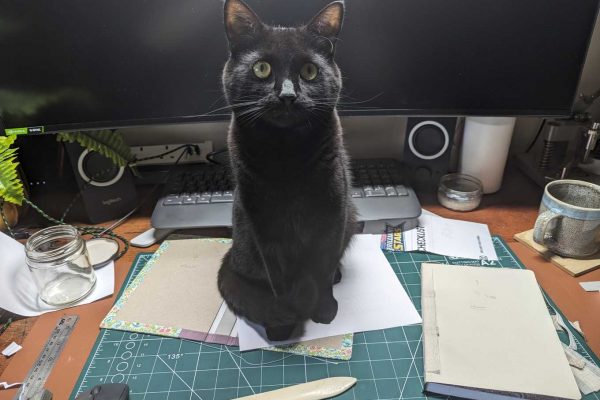
Shadow our cat decided to help me with this project instead of Ziggy this time. He sat on the boards to keep them flat while they dried, so he was very helpful! 😉
Putting it all together
Once the cover had dried, it was a case of glueing the text block in the cover. Then let it dry while clamped between boards.
This is the finished product, and I’m very pleased with it, and it’s come out perfectly.
I am thinking about creating a case for this book, as it will be a present for someone. So keep popping back to see the progress I make on it.
