I’ve created notebooks in the past with lined paper, but I’ve had to create my own using desktop publishing (DTP) software. Having used various DTP applications over the years to create lined paper, I have found the best to be Affinity’s Publisher…I will say right now this is not sponsored, this is just my personal view!
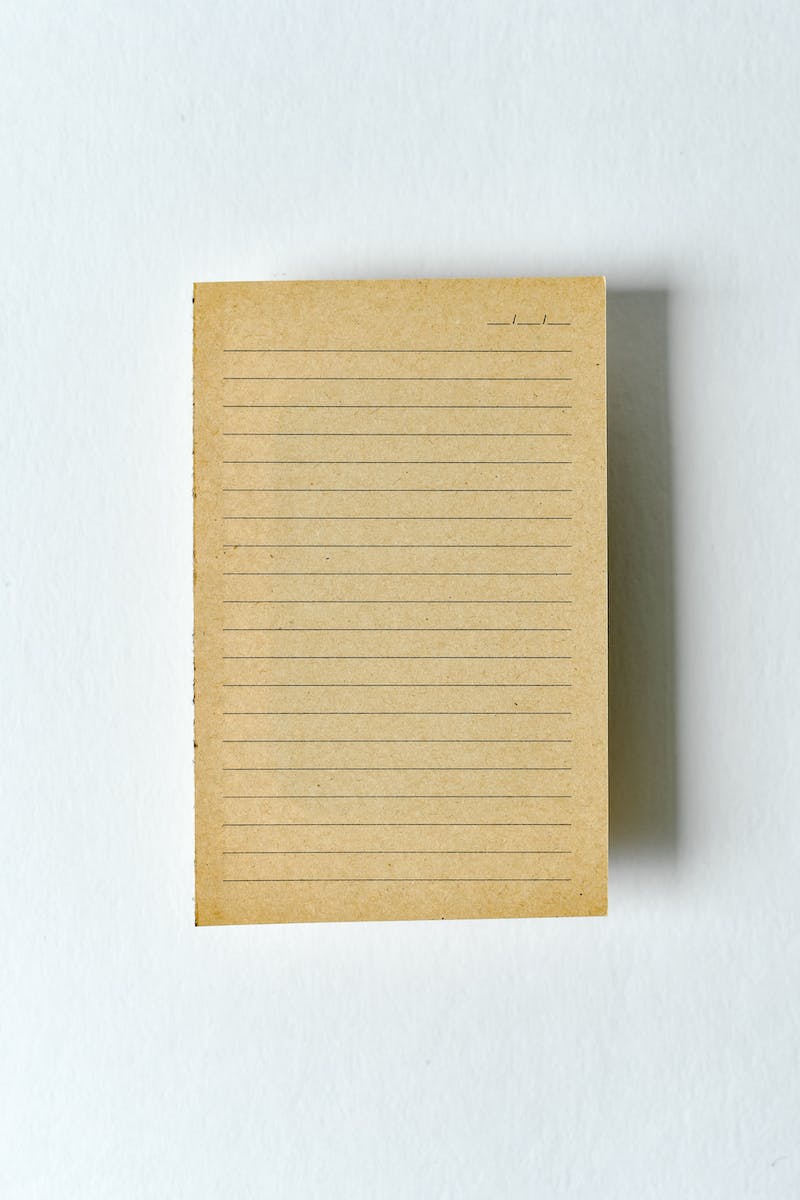
Using the software I have created, I have made lined paper which I use in my bookbinding projects. I’ve opted for a standard lined paper finish in this project with red margins and blue lines, but the world is your oyster!

Should you wish to download the PDF file for the lined paper I created (as shown above), I’ve included a link at the bottom of this post for you to use.
However, if you want to have a go for yourself creating the lined paper, I’ve included the step-by-step guide below on how to do so using Affinity Publisher.
How do I make this lined paper?
Watch the video…

Create a new document
The following steps will show you how to create a new document. For this example I want to create lined paper for an A5-sized notebook, so I’ll choose A4 document size.
- Click File and select New from the menu.

- Select A4 from the list of paper sizes in the New document window.

- Within the New document window click on the Margins tab, and uncheck Include margins. Then click Create in the bottom right corner of the window.

- You will then see a new A4 page, in portrait mode, however, this needs to be changed to landscape. Click the Document Setup… button located at the top left of the window.

In the Document Setup window click the landscape button, and then click OK.

Master Pages
Master pages are great if you want to design a page with elements on and be able to reuse those elements on multiple pages throughout your document. Using master pages will save you from copying and pasting from one page to another.
So in this tutorial, we will create the lined paper on a master page, because we will need 2 pages of the lined paper on the front and back of the paper.
- Click to expand the Master Pages section on the left side of the Affinity Publisher window.

- Double-click the page labelled Master A.

- Then, right-click the Master A page, and select Spread Properties…

- Make sure Single is selected from the Page Layout. Then click OK.

Baseline Grid
Now we will create the lines and margins in the Master A page layout. But first, turn on something called Baseline Grid which makes it easier to align text over your page.
- Click View and select Baseline Grid… from the menu.

- Check both of the following options: Use Baseline Grid and Show Baseline Grids. The Baseline Grid will then appear on your document in blue lines.

- For the next step, I have chosen a medium ruled line paper, with 7.1mm gaps between each line. So, I will enter 7.1mm in the Grid Spacing text box – but remember to add the mm on the end of the number as this text box works in pt.

- Once you have added the 7.1mm it will then convert it and show the value as 20.1 pt.

- Personally, I don’t like the grid lines being so bold so I like to turn down the opacity of the lines. This also makes it easier to see what you are drawing. Just drag the slider to your preferred level. Once chosen click Close.

Then you should see something like this…

Guides
As previously mentioned, I will be showing you how to create lined paper with a margin. I will be using something called Guides, which helps with the positioning of elements on your page. Note they will not be visible when printing.
- Start by moving your mouse over the top of the vertical ruler and then click and drag your mouse away from the ruler over your document.

- For this first guide, drag it to the centre of the document; with Snapping turned on it should stop for a short period and turn green once you reach the centre. It will be 148.5mm – but don’t worry if you haven’t got snapping turned on and you can’t get the exact measurement, I will show you how to correct this in the next few steps!

- Repeat the previous step and drag the guide to around 25mm and then the last one to 173mm. Again, they don’t have to be exact!


- Now, correct the measurements if you were unable to get the exact number when dragging the guides out. Double-click one of the guidelines. This will open the Guides window, where you can click on the guide values and change them to 25mm, 148.5mm and 173mm. Once you have done this, click Close.

Drawing the lines
Now for the fun part! Creating the margin and ruled lines.
- Click on the Pen tool.

- Click the pen tool at the top of the 25mm guide (it should snap to that point).

- Then click the pen tool on the bottom of the guideline (25mm).

- Before drawing the next line, press the Escape key when done or it will continue to draw a line from the last point.
- Repeat the above steps for the guide at 173mm, where you should have 2 lines, like the image below.

- Next, click on the Move tool.

- With the move tool, click and drag over both the new lines you have just created. It should show 2 objects have been selected. Once selected, it’s now time to add some colour to the margin lines.

- Select the line colour so that it brings it to the front. Then choose your colour of choice. For this example, I’ve selected red.

- I have opted to make the lines thicker for the margins so while the two margin lines are selected, I’ll increase the width of the line to 1pt, which can be found under the Stroke tab.

- Now for the lines! Select the Pen tool again.
- You will probably notice that when you move the pen tool over any of the baselines the cursor doesn’t snap to them…

- So what you need to do is turn on the snapping for the baseline grid. Click View then select Snapping… from the menu.

- Then make sure Snap to baseline grid is ticked. Then click Close.

- Now try again and notice the cursor now snaps to the baseline grid.

- Now you can draw your lines across the entire page. I have started the second line down so that it leaves a big enough gap like normal lined paper for titles. Remember when drawing the line where you click the start, make sure to then move to and click at the end. Then press Escape.

- Now you have drawn the first line at the top of the page. Select the Move tool.
- With the Pen tool select the line you have just drawn.

- Either press the keys Ctrl + J or select Duplicate Selection from the Edit menu. The line will then be duplicated.

Isn’t duplicating the same as copying?
Duplicating is different from copying. Although when duplicating it does make a copy, however when you have duplicated an object and you transform it, as in this example, move the line to the next baseline. Then duplicate that line, where it will make a copy of the line and apply the move, meaning it will move in the same direction and distance. More information can be found on Affinity’s help page.
- With your duplicated move it to the next baseline down, as shown below.

- Duplicate the last line you duplicated, and you should find the next line will appear below on the next baseline. Now keep duplicating until the lines reach the second from the last baseline, as shown in the image below.

- The lines have been duplicated in red, but I would like them to be a blue colour as well as make them slimmer. As done with the margins, select all of the lines you have just created.

From the Colour tab choose your preferred colour; as mentioned I’ve opted for blue.

Once I had chosen the colour for the lines, I then clicked the Stroke tab and entered 0.5pt to make half the thickness of the margin lines.

Once I’ve finished drawing the lines I prefer to turn off the baseline grid so I can see everything clearer. You can turn them off from the View menu by clicking on Show Baseline Grid so that it’s unticked.

- This is how the page will look with the baseline grid turned off.

You can even remove the Guides for the margins on the page to fully see the red lines. Simply click and drag the guide back to the ruler.

- Here’s what it will look like when the guides are removed. I’ve left the middle one just so that you can get an idea of how it looks.

Creating a new page
Now that the lined paper is completed you can move to page 1 of the document where this will have “Master A” template already assigned to it.

- Just above Page 1, there will be an Add pages button. Click this to add a second page.

- In the Add Pages window, change the Number of pages to 1 (1), and make sure the Master Page is set to Master A (2) so that the lines and margins created are applied to that page. Then click OK (3).

- You will then see your two pages appear with the lined paper master page linked to them.

- Don’t forget to save your work!


Exporting to PDF
To print the lined paper export it to the PDF file format. To do this, select Export… from the File menu.

- When the Export window opens, select PDF from the drop-down list and click Export.

- Give your file a name and Save it.

- Once you’ve exported the file to a PDF, it can be opened in a PDF reader. I use FoxIt Reader instead of Adobe Reader, but ultimately they are all the same thing.


- Next, print the document.

- In the Print window, make sure Print on both sides of the paper (1) is checked, and that Flip on the short edge (2) is selected – otherwise flipping on the long edge will format the second page upside down when printing! I turn off any scaling (3 and 4). Then click OK to print.

Hot off the press
Once you have printed the pages, you should have something similar to this…


Free download
You can download the PDF version of the lined paper file for free to use in your bookbinding projects.
File usage: By downloading the PDF file, you agree to the following terms:
The lined paper PDF file is provided for free and can be used in any of your bookbinding projects (personal and commercial).
The selling of the file itself is prohibited, it’s free for anyone to use!
If you wish to distribute the file, please feel free to do so by providing a link to this page.


