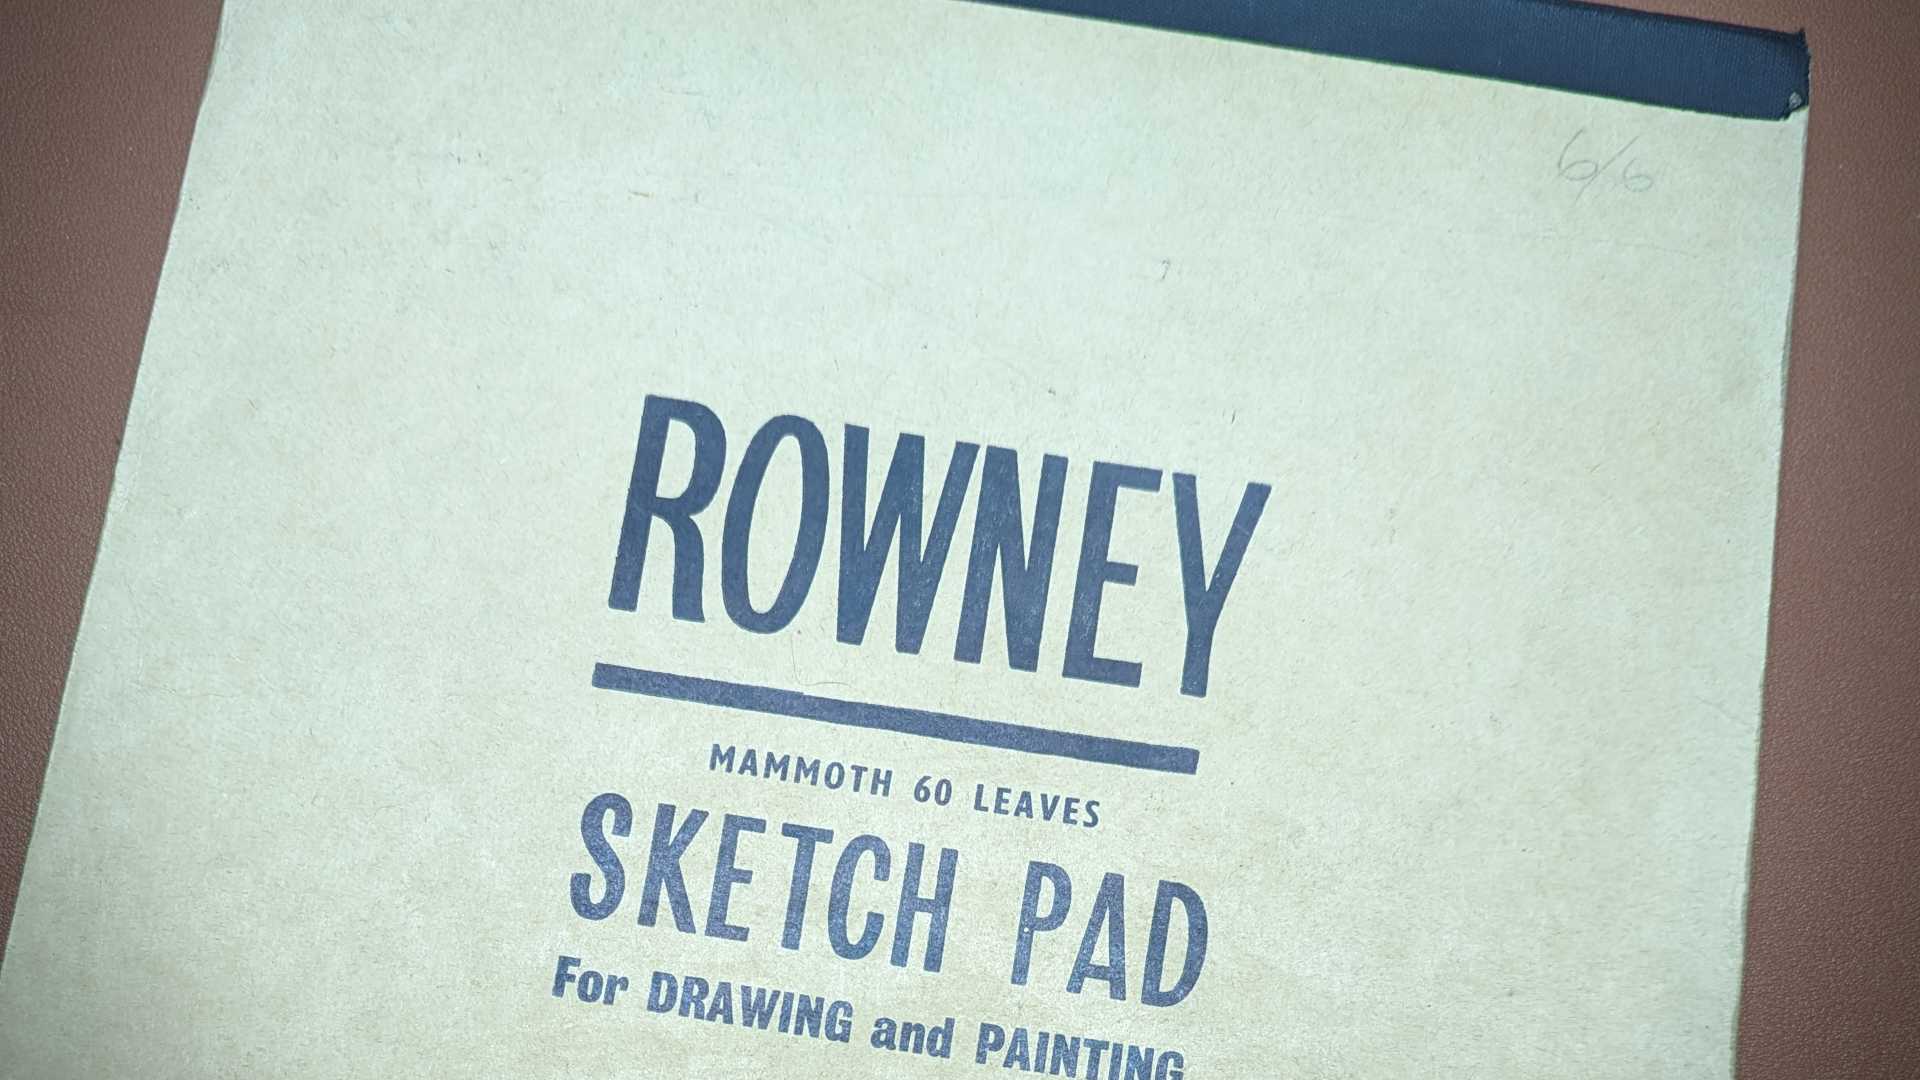
You may have seen in my previous post where I picked up a vintage press that I found an old Rowney sketch pad which I think is from the 1960’s, where I mentioned I would try and turn this into a sketching book.


Well, I did just that. The result looks great, but not without some problems along the way!
Making the text block
Making the text block went according to plan, and the paper was lovely to work with which was nice and thick. The majority of the pad hadn’t been used, there were a couple of pieces of paper where they had been drawn on.
I managed to get 24 sheets of paper from it and put 4 in each signature. This makes a 96-page text block, which is a nice amount of pages to get through. I pressed the papers for about a day to make them nice and flat and give them a nice equal fold.


Because the signatures were a nice size (250mm in height), I thought I would add 3 tapes to the spine when sewing to add a bit more support. Ziggy thought he would help with the sewing, and pull the thread through for me. He did get a little carried away on the odd occasion though…he is a cat that loves a bit of thread after all! 🐈


I then glued the spine, added the mull, bookmark ribbon and then a paper liner to help strengthen the spine when opening and closing.
Things went a little wrong
Now, this is where things went a little wrong, thankfully I knew what I did which means I can learn from my mistakes.
I created the endpapers using a folded A3 paper cut to shape (A4 wasn’t tall enough), and a Sanderson print called “The Strawberry Thief”. I glued one side of the folded paper to the other, the white A3 paper was stitched in with the signatures, and the Sanderson paper was glued to the book covers.

When I was making these endpapers, I was a little lax about it when it came to measuring them to fit the text block I had created. I made sure they were roughly the same size with a little overhang (head, tail and fore-edge). I thought I could make it all perfect when I put it through the guillotine. But that was the downfall, because things weren’t square I trimmed the head, tail and fore-edge slightly out of shape.
Because when it came to adding the covers to the sketchbook and leaving the hinge space the covers were skewed to the text block. I tried to trim the text block to more of a squared shape, but it just wasn’t working and it’s difficult to do this on the guillotine because the blade starts cutting from one side and gradually across to the other end. This means you can line one end up but not the other so easily.
In the end, I had to trim the book cover boards so that they matched the shape of the text block. So this means that there is no overhang where the cover extends past the text block.
The finished product
I decided on a quarter binding for the cover. I used some material for the quarter and spine, and then my wife had some wrapping paper in another Sanderson pattern. This wrapping paper is good quality and has a nice thickness to it.
Overall, considering the bookbinding is not quite square, cutting the covers down so that they are the same size as the text block worked out better than I thought – I did wonder if this would be a fail, but glad it wasn’t in the end.
My wife is pleased with it and will be using it for her art projects.


Final thoughts
From this bookbinding project, I must admit I was perhaps trying to speed things up a little when it came to the endpapers and thought I could cut them down to size once attached.
What I should have done was cut the endpapers down to the correct size before attaching that way everything would have been squared up properly.
Have you learnt from any bookbinding projects that you have made mistakes on?

