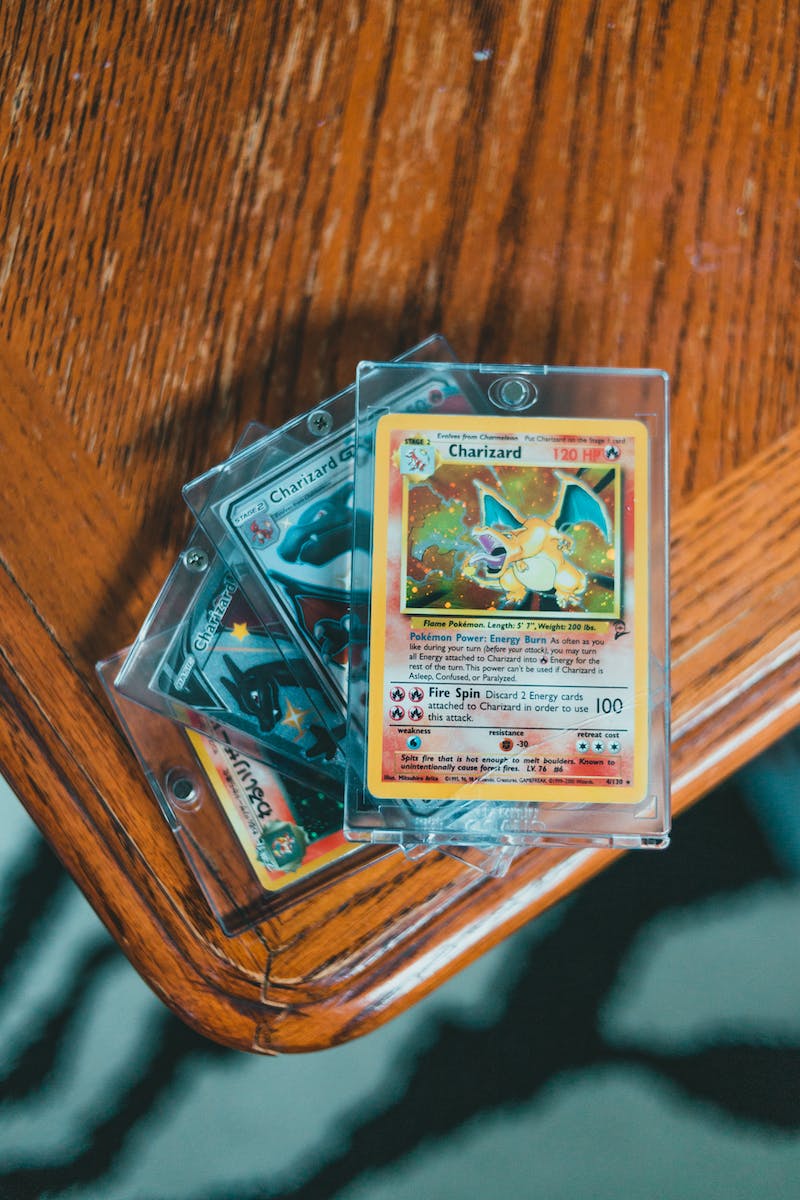
My son is a collector of Pokémon cards and, only recently I started to collect them myself. I have always been interested in collecting trading cards over the years but I had never collected any Pokémon.
So why am I writing a post about Pokémon trading cards? Well, it all started when I wanted to create a checklist to keep track of the cards I’ve collected. I started to create a Google Sheet to track the cards that way, but, I found the Google Sheet to be large and bulky once I added the images of the cards for each row, especially when there are 200-300 or more cards per set in some cases.

I also tried to use an app to keep track of the card collection called Collectr. It’s a great app because it contains every Pokémon card you can think of, you can also enter the price you purchased a card for and this keeps track of what the card is worth and how much you have made – I see it almost as keeping a track on your stocks and shares…but for your Pokémon trading cards.

It’s a great app, however, it’s just a little too much for me at the moment, I just need something simple.
Creating a checklist into a book
So I wondered if I could create my own checklist for the Pokémon cards but in a book format. When it comes to checklists I find it far easier to have it on paper, I just find it time-consuming to scroll through an app or spreadsheet, especially when on a smaller screen like a mobile phone.
In this list, I knew I wanted to include an image of the card so that it makes it easier to identify because for me I still haven’t gotten used to the names of all the Pokémon characters, apart from Pikachu. 😉
Getting the card images
I knew I would need to download an image of each card in the set for Crown Zenith, and downloading these manually would be very time-consuming, especially when you think there are near enough 300 cards in this particular set.
So I used a Chrome extension called Image Downloader which looks at the current webpage you are viewing and finds all the images on it (and linked to). You can then select the images you wish to download and you can even specify a file name of your choice. When the images are being saved the extension will even include a number at the end of the file and increment – for example, “Crown Zenith001.jpg”.

Putting the book together
I used Affinity Publisher 2 to create the checklist book and used the data merge function. A data merge is where you insert data into documents which could be personalised certificates or letters, etc. and saves you from manually imputing the data yourself into separate documents.
Creating the data
I used Google Sheets to create the data I will be merging which contains the card number, card name, the file location of the card image (which I downloaded using the Image Downloader Chrome extension), the rarity of the card, and the file location of an image showing a checkbox for normal, reverse holo and holo card.

You may notice that the columns labelled normal, reverse holo and holo, are not all filled in. I have only filled in the file location if the card is normal, reverse holo and/or a holo. I then downloaded this as a CSV file once completed.
Doing the data merge
To create the template in Affinity Publisher, I simply clicked on the Data Merge Layout Tool and simply dragged out across the area where I wanted to have the template.

I increased the rows from 2 to 3 and left the number of columns as two because I wanted to get as many cards on the page as I could to reduce the number of pages.

Then from the menu option Window, I chose Data Merge Manager… and selected the CSV file I had exported from Google Sheets.

Then I built the template, by adding any text and image frames to the first section of the template (top left). As you add into that section you will see it duplicate across the other sections.
I was adding text to the text frames just so that I could identify them. This will be changed as you assign a field.

Once I had completed the design of the template I assigned the fields from my CSV, by opening the Fields window (Text menu, Insert, Fields and More).

I selected each item within the template, and then from the Fields window I double-clicked the field name, which assigns that field to the item. NOTE: When assigning a field to a text frame, you need to highlight the text in the text frame, then double-click the field name to assign.

Once I had assigned everything I turned on the preview from the Data Merge window, where you can flick through the other records to make sure everything is correct and looking how I wanted it to look.
As you will see in the screenshot below, for the card types (normal, reverse holo and holo) holo is showing as an image icon – that’s because that field was empty. This means that this particular card you can see is only available in a normal and reverse holo. When the data merge is generated it will be shown as a blank area and not the icon.

Once I was happy, I clicked on the Generate button in the Data Merge window.

The data merge will run where it creates a new document from the data in my CSV.

I then added additional pages like a front cover and blank pages to make the number count even when it comes to printing. I then exported the document as a PDF and printed the document from Adobe Reader as a booklet.
When I printed it as a booklet it would organise the pages for me so that I could sew it together with a pamphlet stitch.
The final result came out really well and very pleased with it! Once my son saw the finished result he wanted one, which I had expected he would and had already printed the second copy out.


I will be creating more of these checklist books for the other sets we are collecting.
Have you tried anything like this before creating a checklist and making it into a book?


